When you’re craving a decadent dessert without the time, ingredients, or cleanup, this easy 2-ingredient chocolate mousse is the answer. Rich, airy, and smooth, it’s inspired by French chocolate chantilly but uses no cream, eggs, or dairy. Just two ingredients—dark chocolate and hot coffee or tea—transform into a dessert that feels gourmet, yet takes just minutes to make.
Grab This Chef Knife Now - Almost Gone!
- Stays Razor-Sharp: Ice-hardened blade keeps its edge longer than ordinary knives
- Superior Grip Control: Unique finger hole design gives you perfect balance and safety
- Built to Last a Lifetime: Premium stainless steel blade with elegant beech wood handle
Customer Reviews ★★★★★
This recipe is not just fast. It’s also fully plant-based, making it a perfect option for those who are vegan or dairy-free. The mousse gets its texture from a clever technique: whipping the melted chocolate over an ice bath. This step incorporates air and creates the classic mousse texture—light, creamy, and slightly firm.
Why You’ll Love This Recipe
- Requires only two pantry-friendly ingredients
- Takes less than 10 minutes from start to finish
- Fully vegan, dairy-free, and gluten-free
- Can be customized with flavors or toppings
- Stores well in the fridge for days
Whether you’re hosting a dinner party or just want something sweet after a long day, this mousse is elegant enough for guests and easy enough for everyday indulgence.
Preparation Phase & Tools to Use
Before you start, set yourself up for success with the right tools and prep.
Essential Tools and Equipment
- Two mixing bowls: One for melting chocolate and one for the ice bath
- Whisk or electric hand mixer: To incorporate air and thicken the mixture
- Spatula: For scraping and folding the mousse
- Measuring cups: To ensure ingredient accuracy
- Ice and cold water: To prepare the ice bath
Importance of Each Tool
Every tool in this recipe serves a purpose. The whisk or mixer helps achieve the mousse’s airy structure. The ice bath speeds up the cooling process while you whip, which thickens the chocolate mixture into a mousse. A spatula helps you transfer and serve without losing the texture you’ve just created.
Preparation Tips for Best Results
- Use high-quality dark chocolate with 70% cocoa or more
- Make sure your coffee or tea is hot—nearly boiling
- Avoid letting water drip into the chocolate as it melts, which can cause seizing
- Whisk vigorously but stop once you reach a thickened texture to avoid over-whipping
Ingredients
Here are the only two ingredients you need:
- 2 cups dark chocolate (70% cocoa or more), broken into pieces
- 1 cup hot coffee or tea (use decaf or herbal tea if preferred)
Optional Toppings:
- Orange zest
- Fresh berries
- Sea salt flakes
- Shaved chocolate
Choose a topping that complements the deep richness of the chocolate, or serve it plain for a classic mousse experience.
Step-by-Step Directions
Follow these steps to make perfect vegan chocolate mousse every time:
- Prepare an ice bath: Fill a medium-sized bowl with ice and cold water. Set aside.
- Melt the chocolate: Place chocolate pieces in another medium bowl. Pour in hot coffee or tea. Stir gently until the chocolate is fully melted and smooth.
- Whip over the ice bath: Nest the bowl with the melted chocolate over the ice bath. Begin whisking vigorously by hand or with a hand mixer. Continue for about 5 minutes until the mixture thickens.
- Finish whipping: Remove the bowl from the ice bath. Continue whisking until the mixture becomes light and fluffy. The texture should resemble classic mousse.
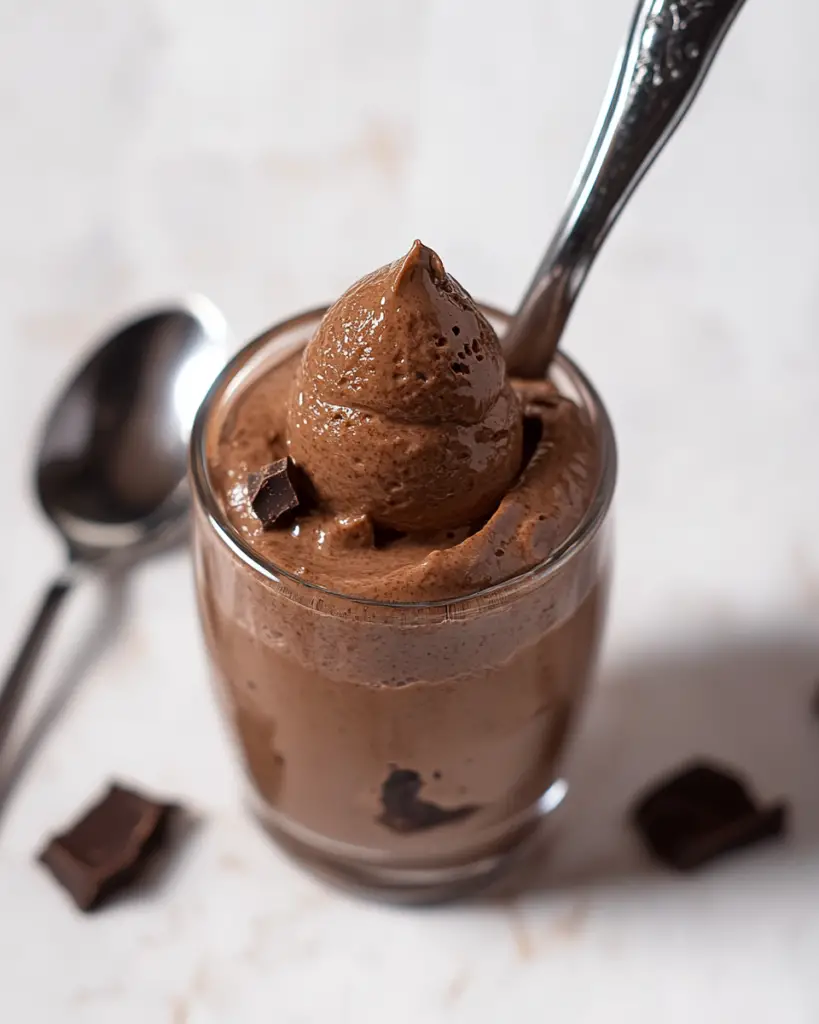
- Serve or chill: Spoon the mousse into ramekins, pudding cups, or serving bowls. Enjoy immediately or refrigerate for up to 4 days. The mousse will firm up slightly as it chills.
Ingredient Notes
- Use vegan chocolate to keep the mousse 100% plant-based
- Decaf coffee or herbal tea makes it suitable for children or caffeine-sensitive guests
- Avoid sweetened chocolate unless you prefer a sweeter mousse
- Flavored teas like chai or mint add unique depth
With only two ingredients and minimal prep, this mousse brings luxury to your table in under 10 minutes. It’s a go-to recipe for chocolate lovers, minimalist cooks, or anyone looking to impress without stress.
Serving Suggestions
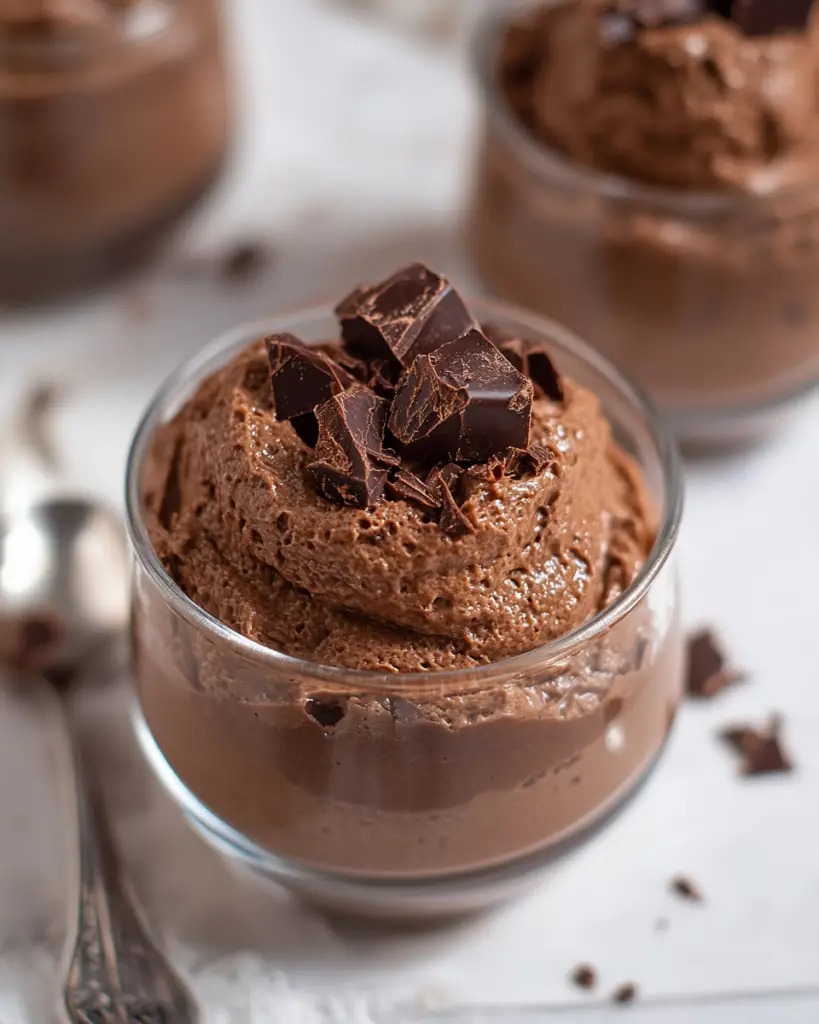
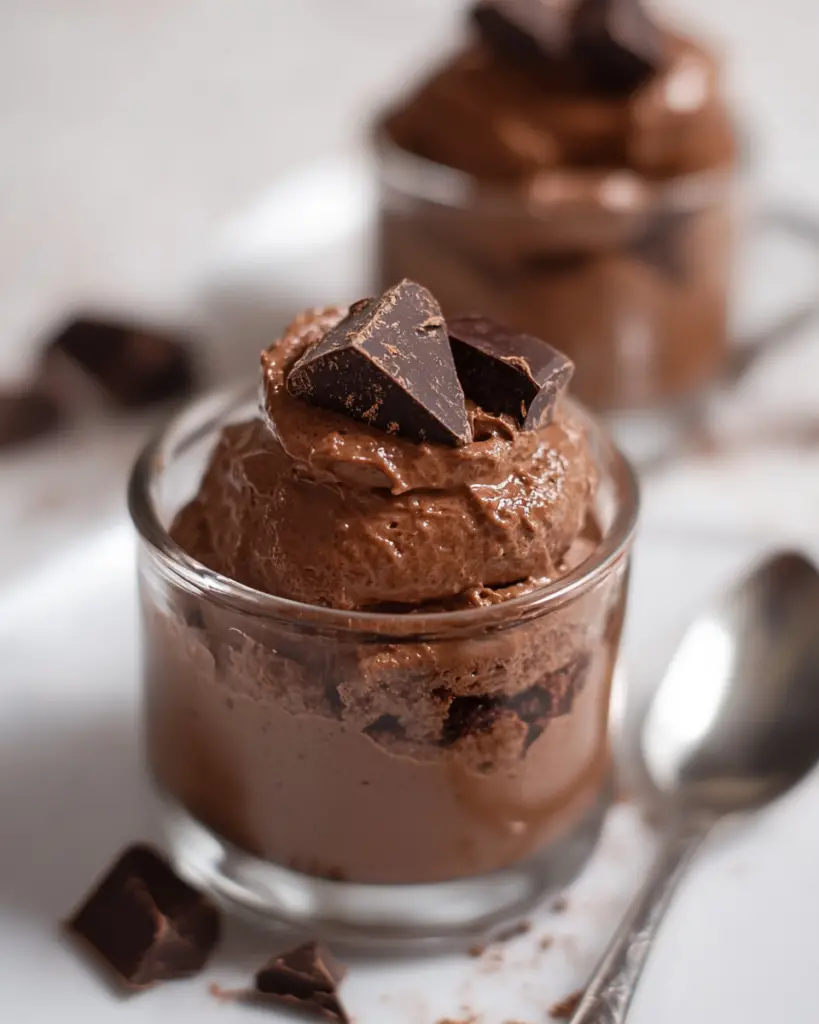
The mousse itself is rich, thick, and slightly firm when chilled. It can be dressed up or served on its own for a minimalist presentation.
Creative ways to serve this mousse:
- Spoon into chilled glass cups or ramekins to enhance the smooth texture
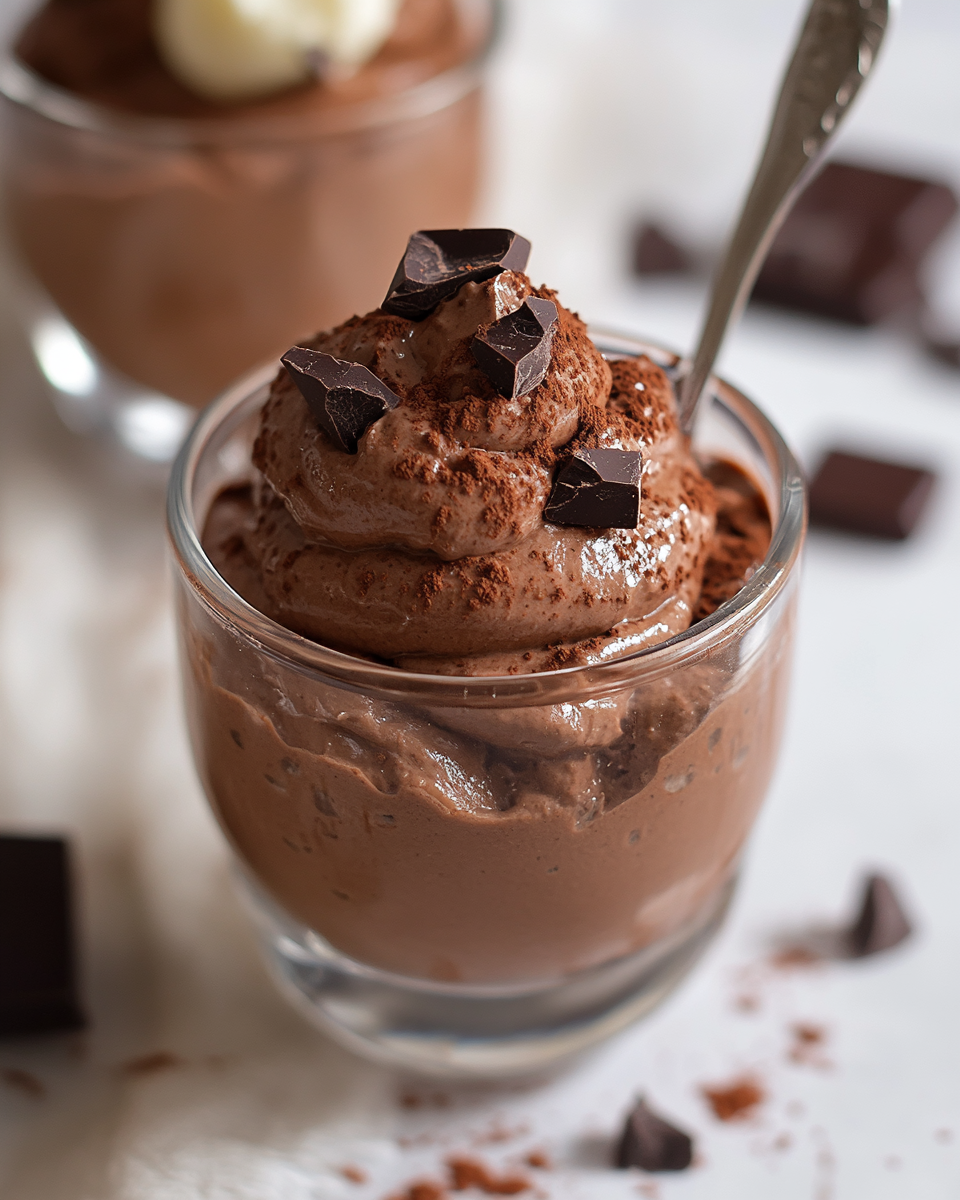
- Top with orange zest or shaved chocolate for a bright contrast
- Add a few fresh berries (such as raspberries or strawberries) for color and tartness
- Sprinkle with a pinch of sea salt to balance the rich chocolate flavor
- Swirl in a small spoonful of peanut butter or tahini for a nutty twist
- Serve with a small cookie or crisp biscotti on the side
- Use as a filling for tart shells or layered parfaits
- Dust lightly with cocoa powder before serving
Whether served warm and freshly whipped or chilled for a firmer bite, this mousse adapts well to any style of presentation.
Common Mistakes to Avoid
Despite its simplicity, there are a few common errors that can affect the texture or flavor of the mousse. Knowing what to avoid will help ensure that the dessert turns out perfectly every time.
1. Using chocolate with low cocoa content
Chocolate with less than 70% cocoa can have more sugar and additives, which affect the whipping process and overall taste. Always choose high-quality dark chocolate with minimal ingredients for the best result.
2. Letting water into the melting chocolate
If any water splashes into the chocolate while it’s melting, it can seize and turn grainy. Always use dry utensils and keep the bowl elevated over the ice bath without direct contact with water.
3. Not whisking long enough
The key to achieving a fluffy mousse is whisking the mixture thoroughly over the ice bath. If you stop too early, the mixture may remain too runny. Aim for soft peaks before removing it from the ice.
4. Over-whipping the mousse
Once the mixture starts to stiffen, stop whisking. Continuing beyond this point can cause it to seize or lose its silky texture. You want light and airy, not dense or crumbly.
5. Using lukewarm coffee or tea
The chocolate needs hot liquid to melt smoothly. If the liquid is not hot enough, the mixture may not emulsify properly, resulting in a grainy consistency.
How to Perfect the Mousse Every Time
Here are a few expert tips to take your easy chocolate mousse from good to great:
- Use a hand mixer for consistent whipping without tiring your arm
- Place your mixing bowl in the freezer for 5 minutes before whipping
- Whip the mousse until it reaches a texture similar to soft whipped cream
- Taste after whipping—add a pinch of salt or a drop of vanilla if needed
- Serve in cold dishes to preserve the mousse’s structure
These small details can have a big impact on the final texture and flavor of your mousse.
Recommended Side Dishes
To create a balanced dessert plate or a full course dessert experience, pair your vegan chocolate mousse with one of these complementary side dishes. These combinations enhance the rich chocolate flavor and provide contrast in texture and taste.
Eight delicious pairings:
- Fresh fruit salad: A medley of citrus and berries brings brightness to the dessert course.
- Vegan almond biscotti: Adds crunch and a nutty complement to the smooth mousse.
- Spiced poached pears: Soft and subtly spiced, they balance the richness.
- Coconut whipped cream: Light and fluffy, it layers well over the mousse.
- Chai-spiced granola clusters: Sprinkle on top for added crunch and warm flavor.
- Mini vegan tartlets: Use the mousse as a filling or serve alongside.
- Hazelnut shortbread cookies: A classic flavor pairing with dark chocolate.
- Mint-infused herbal tea: Cleanses the palate and refreshes between bites.
These options are ideal whether you’re building a full dessert tray or serving a single plated dish. Each pairing complements the mousse while keeping the experience plant-based and refined.
Recipe Tips and Creative Variations
Even though this vegan chocolate mousse requires only two ingredients, there’s still room for creativity. With a few small adjustments, you can completely change the flavor profile or add visual appeal for special occasions.
Boost the Flavor
- Add a drop of vanilla extract or almond extract during the melting phase for a hint of aroma
- Include a pinch of sea salt to heighten the chocolate flavor
- Swirl in a spoonful of nut butter for depth and richness
Enhance the Texture
- Fold in some aquafaba-based whipped cream for an ultra-light texture
- Use a chilled metal bowl when whipping to hold the mousse structure longer
- Chill serving bowls before spooning in the mousse to help it set quickly
Change the Liquid Base
- Swap out coffee for chai tea, earl grey, or peppermint tea to create seasonal flavors
- For a caffeine-free version, use roasted dandelion tea or herbal rooibos
Presentation Ideas
- Pipe the mousse into small jars or cups using a pastry bag for a clean finish
- Serve as a mousse layer in a vegan parfait with granola and berries
- Use as a tart filling topped with fresh fruit and a drizzle of maple syrup
These small additions and variations allow you to serve the same core dessert in multiple ways, from casual snacking to elegant plating.
Storage and Reheating Instructions
One of the benefits of this 2-ingredient chocolate mousse is how well it stores. You can easily prepare it in advance and enjoy it throughout the week.
Refrigeration
- Store the mousse in an airtight container or tightly covered individual serving cups
- Keeps well for up to 4 days in the refrigerator
- The texture may firm up slightly, which creates a thicker, more traditional mousse consistency
Freezing
- Not recommended. Freezing alters the smooth texture and can cause the mousse to become grainy or separate when thawed
Reheating
- This mousse is not intended to be reheated. It’s best served cold or at room temperature
To extend freshness, avoid frequent temperature changes and always use clean utensils when serving from a shared container.
Frequently Asked Questions (FAQs)
Can I make this mousse ahead of time?
Yes. In fact, making it a day ahead improves the texture. Chill it in individual serving dishes for the best presentation.
What if I don’t have a whisk or electric mixer?
You can whisk by hand, though it requires more effort. The mousse will still whip as long as the ice bath is cold and you whisk consistently.
Can I use flavored chocolate instead of plain dark chocolate?
You can, but avoid chocolates that contain added oils or sweeteners, as they can affect the mousse’s ability to thicken.
Why did my mousse turn grainy or separate?
This often happens if water gets into the chocolate or if you over-whipped the mixture. Use dry tools and stop whipping once you achieve soft peaks.
Is it possible to sweeten this recipe more?
Yes. If your chocolate is too bitter, add a teaspoon of maple syrup, agave, or another liquid sweetener while the chocolate is melting. Be cautious not to thin the mixture too much.
Can I double the recipe for a party?
Absolutely. Just be sure to use a large enough bowl for whipping and maintain a consistent ice bath. Whipping time may be slightly longer due to increased volume.
What type of tea works best?
Robust teas like black tea, chai, or hibiscus add complexity without overwhelming the chocolate flavor. Herbal teas offer interesting notes without caffeine.
Final Thoughts
This easy 2-ingredient chocolate mousse proves that simplicity and elegance can coexist. With only dark chocolate and coffee or tea, you can create a smooth, airy dessert that fits into any occasion. Whether you enjoy it plain, dressed up with toppings, or paired with fruit and cookies, this mousse delivers on flavor, texture, and ease of preparation.
Best of all, it’s completely plant-based, gluten-free, and adaptable to a variety of dietary needs. By mastering this technique, you gain a go-to dessert that’s always ready to impress—with or without a special occasion.
Let this mousse become a staple in your kitchen, and feel free to experiment with new flavors and presentations along the way.
Easy 2-Ingredient Chocolate Mousse
Ingredients
- 2 cups dark chocolate 70% cocoa or more, broken into pieces
- 1 cup hot coffee or tea use decaf if preferred
Instructions
- Place the chocolate in a second medium-sized bowl. Pour the hot coffee or tea over the chocolate and stir until fully melted and smooth.
- Set the bowl with the melted chocolate over the ice bath. Whisk vigorously by hand or with a hand mixer for about 5 minutes, until the mixture thickens.
- Once thickened, remove from the ice bath and continue stirring until the mousse reaches a light, fluffy consistency.
- Spoon into pudding cups or serving bowls and enjoy immediately, or refrigerate for up to 4 days.






Leave a Comment