

These Mini Biscoff Cheesecakes are a dream come true for cookie butter lovers. With a crunchy Biscoff cookie crust, a creamy no-bake Biscoff cheesecake filling, and a drizzle of melted cookie butter, each bite is pure indulgence. These mini cheesecakes are perfect for parties, gatherings, or whenever you crave a delicious, bite-sized treat.

Grab This Chef Knife Now - Almost Gone!
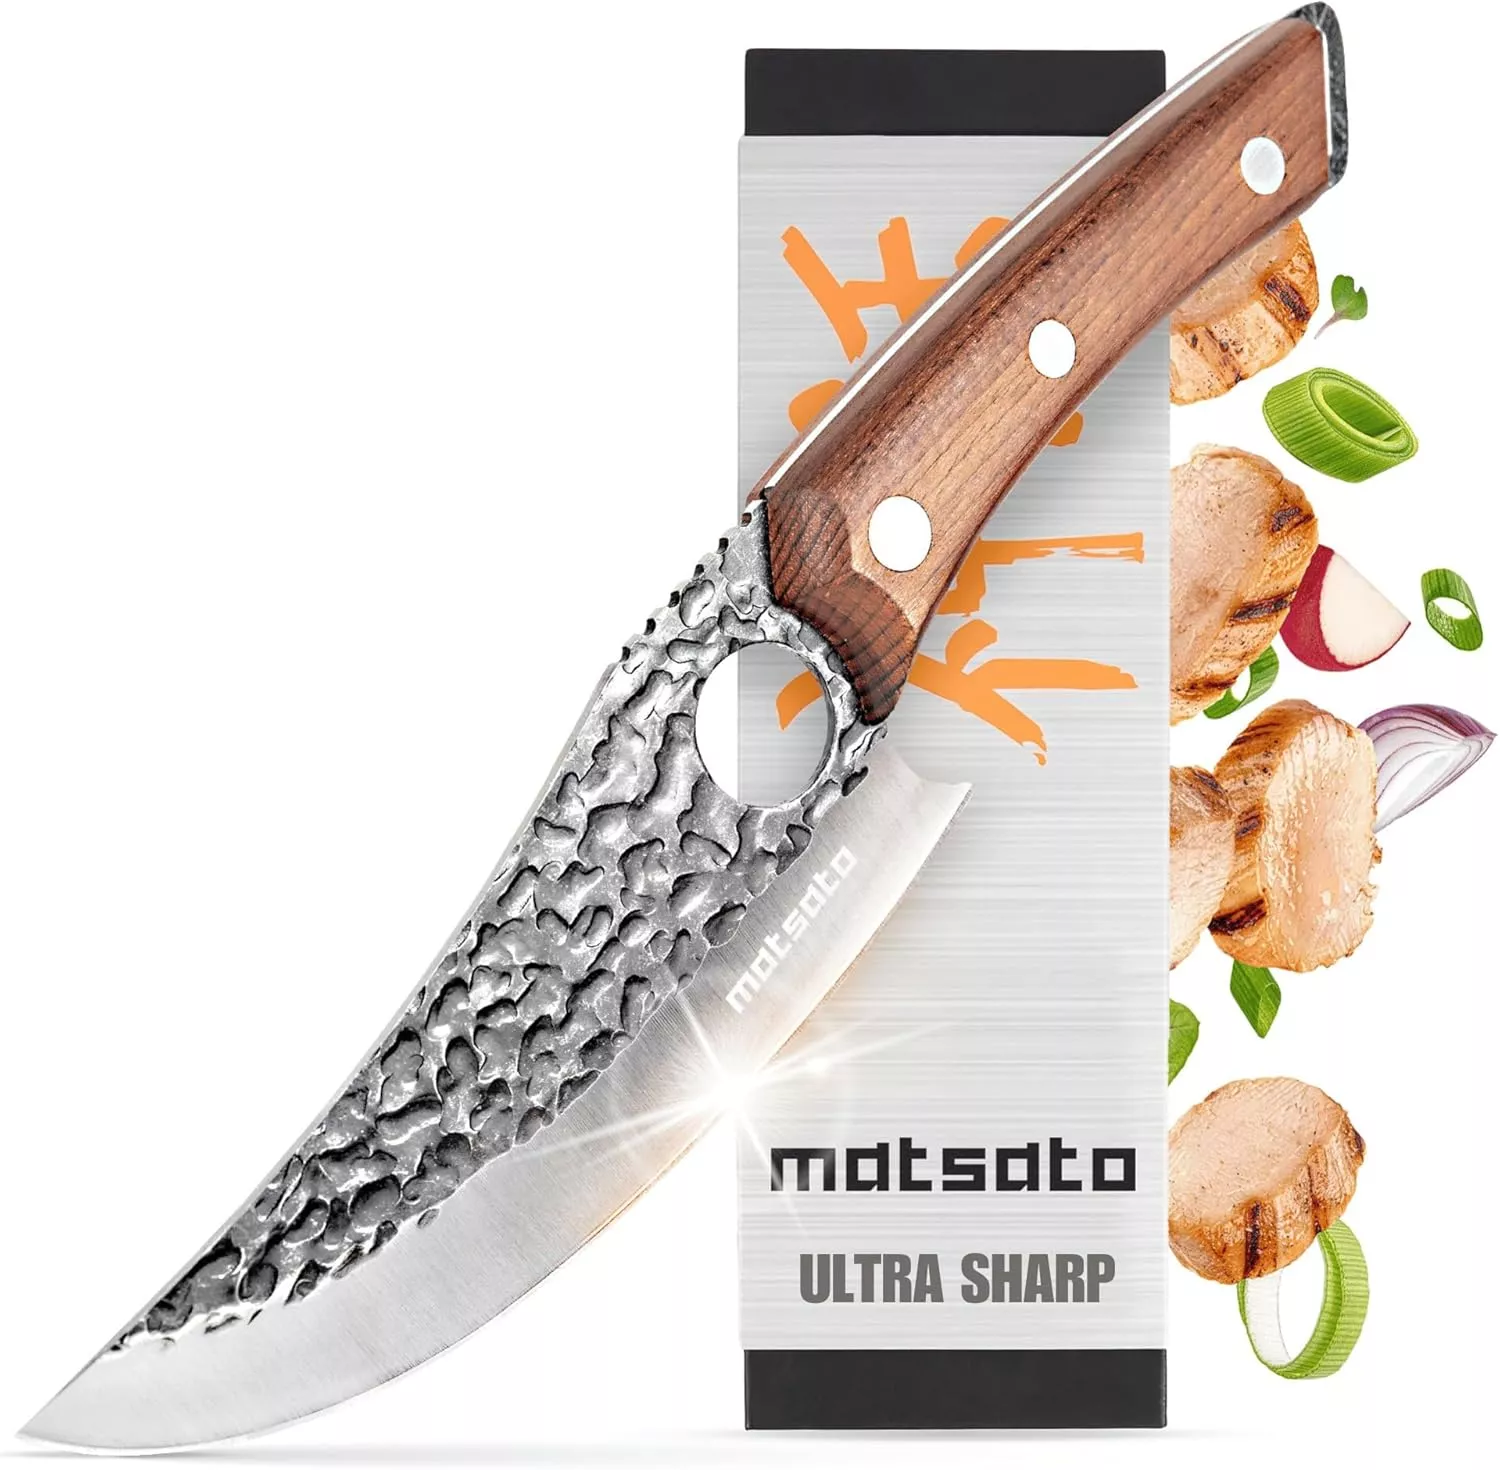
- Stays Razor-Sharp: Ice-hardened blade keeps its edge longer than ordinary knives
- Superior Grip Control: Unique finger hole design gives you perfect balance and safety
- Built to Last a Lifetime: Premium stainless steel blade with elegant beech wood handle
Customer Reviews ★★★★★
Why You’ll Love These Mini Biscoff Cheesecakes
- No-Bake & Easy to Make – No need to turn on the oven.
- Rich & Creamy Texture – The combination of cream cheese and Biscoff spread creates an ultra-smooth filling.
- Perfectly Portioned – Great for serving at events or as a grab-and-go dessert.
- Packed with Cookie Butter Flavor – Every layer is infused with that signature spiced Biscoff goodness.
Essential Tools & Equipment
- Mini Cheesecake Pan – For easy removal and perfect individual servings.
- Electric Mixer – Ensures a smooth and fluffy cheesecake filling.
- Piping Bags & Tips – Helps neatly fill the crusts and decorate with whipped cream.
- Microwave-Safe Bowl – Used to melt the Biscoff spread for drizzling.
Tip: If you do not have a mini cheesecake pan, use a muffin tin with cupcake liners for easy removal.
Ingredients
Biscoff Cookie Crust
- 2 cups Biscoff cookie crumbs
- 2 tablespoons granulated sugar
- 6 tablespoons salted butter, melted
Biscoff Cheesecake Filling
- 16 oz cream cheese, room temperature
- 1 ¾ cups powdered sugar
- 1 cup Biscoff spread (cookie butter)
- 2 teaspoons vanilla extract
- 1 cup heavy cream
Whipped Cream
- ¾ cup heavy cream
- 2 tablespoons powdered sugar
- ½ teaspoon vanilla extract
Additional Toppings
- ¾ cup Biscoff spread, melted
- 2 tablespoons Biscoff cookie crumbs
- 12 Biscoff cookies, halved
Step-by-Step Instructions
1. Make the Biscoff Cookie Crust
- In a mixing bowl, stir together the Biscoff cookie crumbs, granulated sugar, and melted butter until fully combined.
- Portion about 1 tablespoon of the mixture into each cup of a mini cheesecake pan.
- Firmly press the crumbs down to form the crust. Set aside.
2. Prepare the Cheesecake Filling
- In a large bowl, use an electric mixer to beat together the cream cheese, powdered sugar, Biscoff spread, and vanilla extract until smooth.
- Pour in the heavy cream and whip the mixture on medium-high speed until it thickens and becomes light and fluffy.
3. Assemble & Chill
- Fill a piping bag with the cheesecake mixture and pipe it onto the prepared crusts, slightly above the top of the pan.
- Refrigerate for at least 12 hours or overnight until fully set.
- After chilling, carefully remove the cheesecakes from the pan.
4. Make the Whipped Cream
- In a bowl, whip the heavy cream, powdered sugar, and vanilla extract until medium-stiff peaks form.
- Transfer to a piping bag fitted with a Wilton 1M piping tip.
5. Decorate & Serve
- Melt the Biscoff spread in the microwave for about 30 seconds, then drizzle over the cheesecakes.
- Pipe a small swirl of whipped cream on top.
- Sprinkle with Biscoff cookie crumbs and garnish each cheesecake with half of a Biscoff cookie.
Serving Suggestions
Mini Biscoff Cheesecakes are a rich and indulgent dessert, making them perfect for various pairings. Here are some serving ideas to enhance their flavor and presentation:
- Pair with coffee or tea – The warm spices in Biscoff complement a cup of coffee or tea.
- Top with caramel sauce – Adds extra sweetness and a hint of richness.
- Drizzle with melted chocolate – A perfect combination for chocolate lovers.
- Serve with fresh berries – Strawberries or raspberries provide a refreshing contrast to the creamy cheesecake.
- Dust with cinnamon or cocoa powder – Adds a decorative and flavorful touch.
- Add a scoop of vanilla ice cream – Balances the spiced flavor with a cool, creamy texture.
- Sprinkle crushed nuts – Toasted almonds or pecans add a crunchy contrast.
- Serve with a dollop of extra whipped cream – Enhances the overall creaminess.

Common Mistakes to Avoid
To achieve the perfect Mini Biscoff Cheesecakes, be mindful of these common mistakes:
1. Overmixing the Filling
Beating the filling too much can incorporate too much air, resulting in a texture that is too soft and unstable. Mix just until smooth and creamy.
2. Skipping the Chill Time
These cheesecakes need at least 12 hours in the refrigerator to fully set. Rushing this step will result in a filling that is too soft and difficult to serve.
3. Not Pressing the Crust Firmly Enough
A loose crust can crumble when removing the cheesecakes from the pan. Use the back of a spoon or a flat-bottomed glass to press the crust down firmly.
4. Using Warm Cream Cheese
Cream cheese should be at room temperature but not too warm. If it is too soft, the filling may become runny and difficult to set.
5. Overwhipping the Heavy Cream
Whipping the heavy cream too much can cause it to turn grainy or separate. Stop whipping once medium-stiff peaks form.
6. Using the Wrong Type of Pan
A mini cheesecake pan with removable bottoms works best for easy release. If using a muffin tin, use cupcake liners to prevent sticking.
7. Not Allowing the Biscoff Spread to Cool Before Drizzling
If the melted Biscoff spread is too hot when drizzling, it can melt the whipped cream topping. Let it cool slightly before adding it to the cheesecakes.

Recipe Tips
- Use high-quality cream cheese – Full-fat cream cheese gives the best texture and flavor. Avoid low-fat or whipped varieties.
- Chill overnight for the best results – The longer the cheesecakes chill, the firmer and creamier they will be.
- Make ahead for convenience – These cheesecakes are perfect for preparing in advance for parties or events.
- Adjust sweetness if needed – If you prefer a less sweet cheesecake, reduce the powdered sugar slightly.
- Experiment with toppings – Try adding white chocolate shavings, chopped nuts, or even a light dusting of cinnamon for variety.
Storage and Reheating Instructions
Refrigeration
- Store Mini Biscoff Cheesecakes in an airtight container in the refrigerator for up to 3 days.
- Always keep them chilled until ready to serve.
Freezing
- Freeze the cheesecakes in an airtight container for up to 1 month.
- Thaw in the refrigerator overnight before serving.
- For best results, freeze without the whipped cream topping and add it fresh before serving.

FAQs
1. Can I make these cheesecakes ahead of time?
Yes, these cheesecakes need to chill overnight, making them a great make-ahead dessert.
2. Can I use a different cookie for the crust?
Absolutely. Graham crackers, Oreos, or digestive biscuits can work, but Biscoff cookies give the best flavor.
3. Can I use Cool Whip instead of homemade whipped cream?
Yes, but homemade whipped cream gives a fresher, richer taste and better texture.
4. Can I make this as a full-sized cheesecake?
Yes, use a 9-inch springform pan and let it chill for at least 12 to 24 hours before slicing.
5. How do I keep the cheesecakes from sticking to the pan?
Use a non-stick mini cheesecake pan with removable bottoms or a muffin tin with cupcake liners for easy removal.
6. Can I make this dairy-free?
Try using dairy-free cream cheese, coconut whipped cream, and a dairy-free butter substitute for the crust.
7. How can I make these cheesecakes even richer?
Use dark chocolate drizzle, extra cookie butter, or a caramel sauce topping for an extra indulgent touch.
8. Can I use a hand whisk instead of an electric mixer?
An electric mixer is recommended for the smoothest, fluffiest texture, but you can whisk by hand with extra effort.
9. Can I add a chocolate layer?
Yes, you can add a thin layer of melted chocolate on top of the crust before adding the cheesecake filling.
10. Can I use a different flavor extract instead of vanilla?
Almond or caramel extract can add a unique twist, but vanilla pairs best with Biscoff’s spiced flavor.
Conclusion
Mini Biscoff Cheesecakes are a rich, creamy, and no-bake dessert that is perfect for any occasion. The combination of a crunchy Biscoff cookie crust, smooth cheesecake filling, and a drizzle of cookie butter makes every bite irresistible. Whether served at a party, holiday gathering, or as a personal treat, these mini cheesecakes are sure to impress.

Mini Biscoff Cheesecakes
Ingredients
Biscoff Cookie Crust:
- 2 cups Biscoff cookie crumbs
- 2 tablespoons granulated sugar
- 6 tablespoons salted butter melted
Biscoff Cheesecake Filling:
- 16 oz cream cheese room temperature
- 1 ¾ cups powdered sugar
- 1 cup Biscoff spread cookie butter
- 2 teaspoons vanilla extract
- 1 cup heavy cream
Whipped Cream:
- ¾ cup heavy cream
- 2 tablespoons powdered sugar
- ½ teaspoon vanilla extract
Additional Toppings:
- ¾ cup Biscoff spread cookie butter, melted
- 2 tablespoons Biscoff cookie crumbs
- 12 Biscoff cookies halved
Instructions
Make the Biscoff Cookie Crust
- In a mixing bowl, stir together the Biscoff cookie crumbs, granulated sugar, and melted butter until well combined.
- Portion about 1 tablespoon of the mixture into each cup of a mini cheesecake pan.
- Firmly press the crumbs down to form the crust. Set aside.
Prepare the Cheesecake Filling
- In a large bowl, use an electric mixer to beat together the cream cheese, powdered sugar, Biscoff spread, and vanilla extract until smooth.
- Pour in the heavy cream and whip the mixture on medium-high speed until it thickens and becomes light and fluffy.
Assemble and Chill
- Fill a piping bag with the cheesecake mixture and pipe it onto the prepared crusts, slightly above the top of the pan.
- Refrigerate for at least 12 hours or overnight until fully set.
- After chilling, carefully remove the cheesecakes from the pan.
Make the Whipped Cream
- In a bowl, whip the heavy cream, powdered sugar, and vanilla extract until medium-stiff peaks form.
- Transfer to a piping bag fitted with a Wilton 1M piping tip.
Decorate and Serve
- Melt the Biscoff spread in the microwave for about 30 seconds, then drizzle over the cheesecakes.
- Pipe a small swirl of whipped cream on top.
- Sprinkle with Biscoff cookie crumbs and garnish each cheesecake with half of a Biscoff cookie.
Notes
No mini cheesecake pan? Use a muffin tin with cupcake liners for easy removal.


Leave a Comment