

This quick and easy no-knead bread recipe is a game changer for anyone who loves freshly baked bread but doesn’t want the hassle of kneading. With just four ingredients and minimal effort, you’ll create a crusty, golden loaf with a soft, airy interior—perfect for sandwiches, dipping, or as a side to hearty soups and stews.

Grab This Chef Knife Now - Almost Gone!
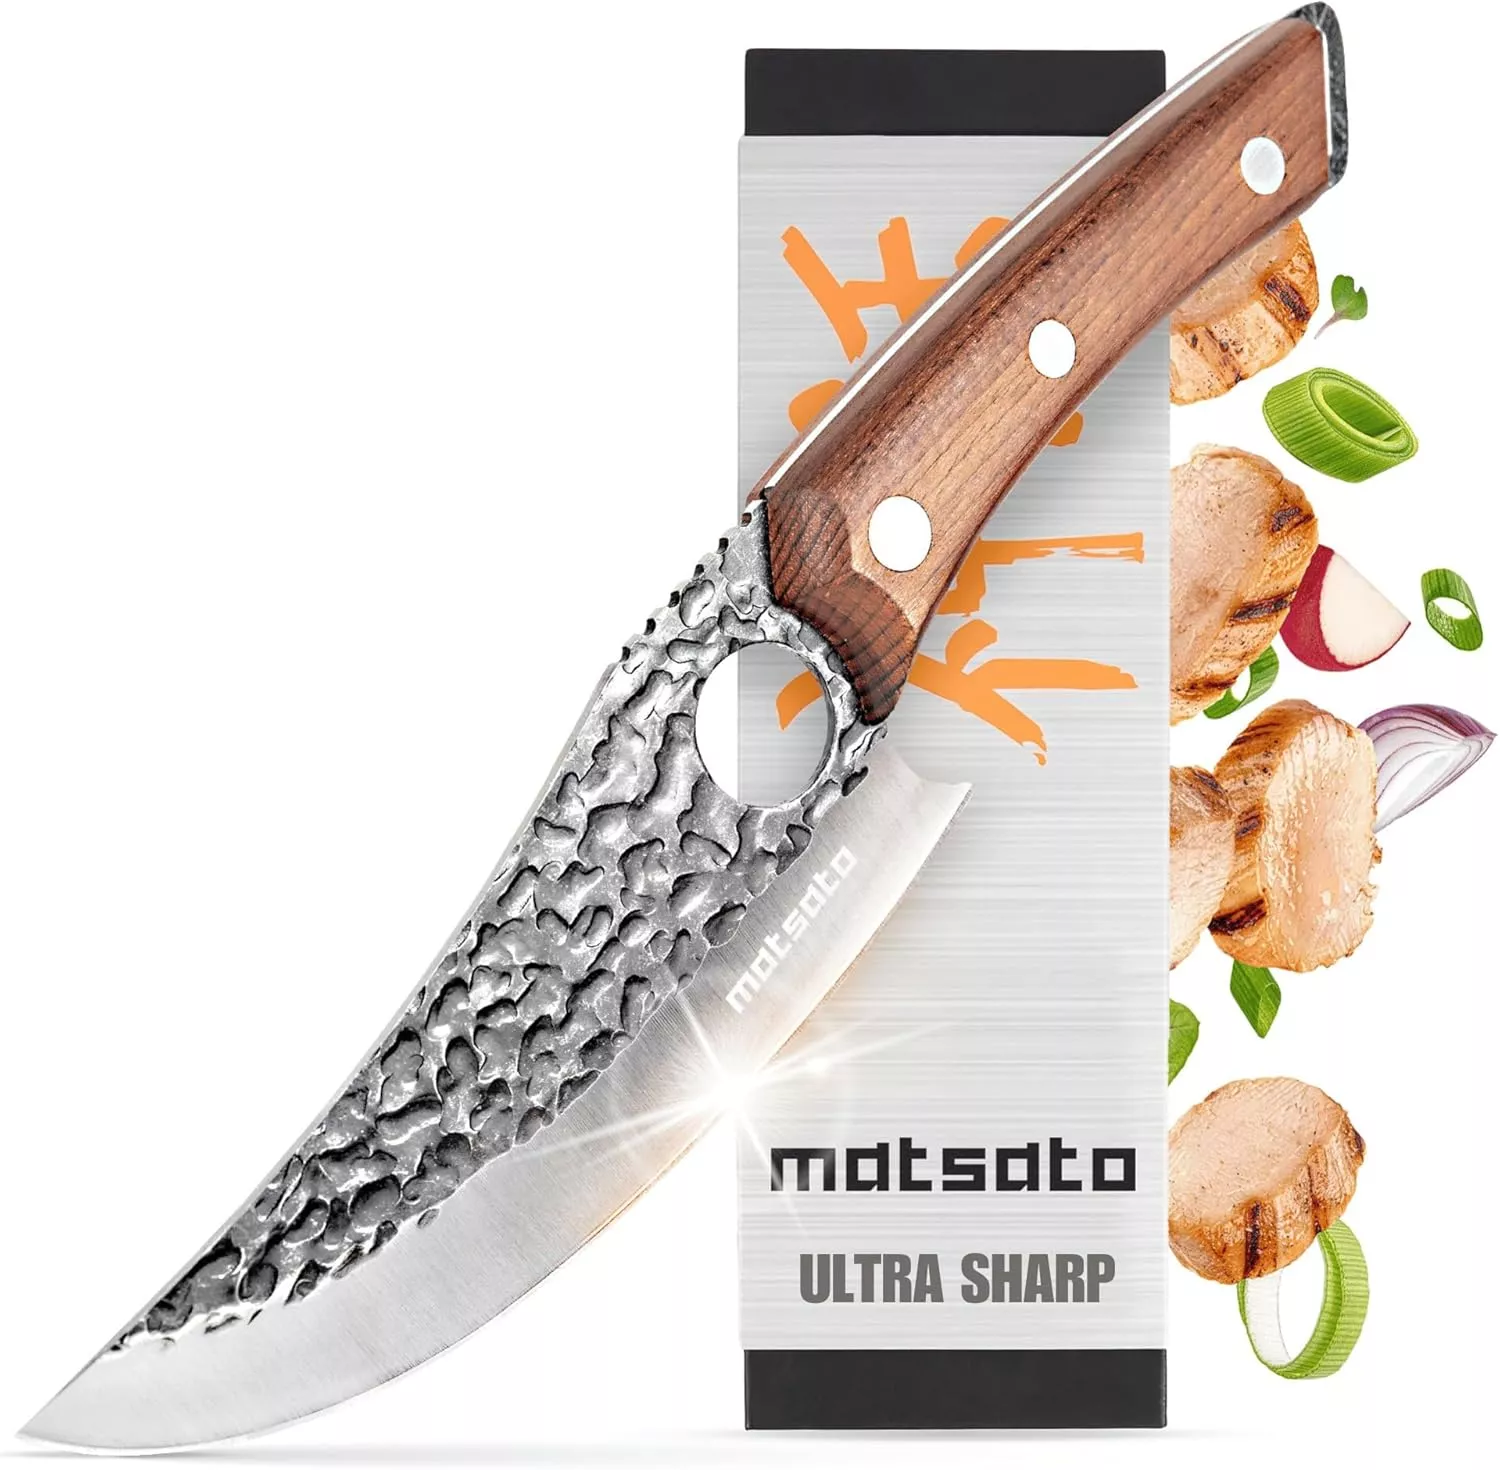
- Stays Razor-Sharp: Ice-hardened blade keeps its edge longer than ordinary knives
- Superior Grip Control: Unique finger hole design gives you perfect balance and safety
- Built to Last a Lifetime: Premium stainless steel blade with elegant beech wood handle
Customer Reviews ★★★★★
Why You’ll Love This Recipe
- No kneading required, making it ideal for beginners.
- Uses simple ingredients you likely already have at home.
- Produces a rustic, bakery-style loaf with minimal hands-on time.
- Perfect for any occasion—breakfast, lunch, or dinner.
Preparation Phase & Essential Tools
Tools You’ll Need
- Mixing bowl: Large enough to allow the dough to rise.
- Dutch oven with lid: Ensures a perfect crust by trapping steam during baking.
- Wooden spoon or spatula: For mixing the dough without getting messy.
- Parchment paper: Prevents sticking and makes transferring the dough easy.
- Dough scraper (optional): Useful for shaping and lifting the sticky dough.
Why These Tools Are Important
- The Dutch oven mimics a professional bread oven by creating an ideal environment for even baking and crust development.
- Parchment paper saves time and ensures easy handling, especially with sticky dough.
- A wooden spoon makes mixing quick and effortless without the need to touch the sticky dough.
Preparation Tips
- Use warm water between 105°F and 110°F (40-43°C) to activate the yeast effectively.
- Avoid adding too much flour, even if the dough seems sticky—this ensures a soft, airy texture.
- Let the dough rise in a warm, draft-free spot, like inside a turned-off oven or near a sunny window.
Ingredients
What You’ll Need
- 3 cups bread flour
- 1 packet (2 teaspoons) rapid rise yeast
- 1 ½ teaspoons salt
- 1 ½ cups warm water
Step-by-Step Directions
1. Mix the Dough
- In a large mixing bowl, combine the flour, rapid rise yeast, and salt.
- Gradually add the warm water, stirring with a wooden spoon or spatula until a sticky dough forms. Don’t worry if it looks messy—this is normal!
2. Let the Dough Rise
- Cover the bowl with a damp cloth to prevent the dough from drying out.
- Let it rest in a warm, draft-free spot for 2-3 hours, or until the dough doubles in size.
3. Preheat the Oven
- About 15 minutes before the rising time is complete, preheat your oven to 450°F (232°C).
- Place your Dutch oven (with the lid on) inside the oven to heat as it preheats. This ensures the Dutch oven is hot when the dough is added.
4. Shape the Dough
- Lightly sprinkle flour on your countertop and turn the risen dough out onto it.
- Gently fold the sides of the dough inward 5-6 times to form a round loaf. If the dough sticks to your hands, lightly dust your hands with flour.
5. Transfer to Parchment Paper
- Place the shaped dough on a sheet of parchment paper.
- Leave some parchment paper hanging over the edges—this will help you lift the dough into the Dutch oven later.
6. Bake the Bread
- Carefully remove the preheated Dutch oven from the oven (it will be extremely hot—use oven mitts!).
- Use the parchment paper to lower the dough into the Dutch oven. Cover with the lid.
- Bake for 30 minutes with the lid on. This traps steam, creating a chewy, golden crust.
- After 30 minutes, remove the lid and bake for an additional 15 minutes, or until the bread is golden brown and crusty.
7. Cool and Serve
- Using the parchment paper, carefully lift the bread out of the Dutch oven and transfer it to a wire rack.
- Let the loaf cool for at least 20 minutes before slicing. Cooling helps the interior set properly and prevents a gummy texture.
Notes for Success
- Sticky dough is key! Don’t add too much flour, even if it feels messy—it ensures the bread stays soft and fluffy.
- Preheat the Dutch oven: A hot Dutch oven is essential for developing that beautiful golden crust.
- Be cautious: Always use oven mitts when handling the hot Dutch oven to avoid burns.
Serving Suggestions
This quick and easy no-knead bread is incredibly versatile, making it a staple for countless meals. Here are a few ways to enjoy it:
- Dipping: Pair with olive oil, balsamic vinegar, or garlic-infused olive oil for a simple appetizer.
- Sandwiches: Use it for hearty sandwiches like turkey and avocado or grilled cheese.
- Breakfast: Toast slices and top with butter, jam, or smashed avocado.
- Soups and Stews: Serve as a side to absorb the rich flavors of tomato basil soup, beef stew, or clam chowder.
- Charcuterie Boards: Slice thinly and serve with cheeses, cured meats, and spreads like hummus or tapenade.

Common Mistakes to Avoid
To ensure your no-knead bread turns out perfectly every time, avoid these common mistakes:
- Adding too much flour: It’s tempting to fix sticky dough by adding more flour, but this can lead to a dense, dry loaf. A sticky dough is key to a soft crumb.
- Skipping the Dutch oven preheat: A hot Dutch oven creates steam, which is crucial for achieving that crusty exterior.
- Letting the dough over-rise: If left too long, the dough can collapse and result in a flat loaf. Stick to the recommended 2-3 hours.
- Not using warm water: Water that’s too hot can kill the yeast, while cold water will slow the rising process. Aim for 105°F-110°F (40°C-43°C).
- Slicing too early: Allow the bread to cool completely on a wire rack before slicing. Cutting into it while hot can create a gummy texture.
Side Dish Recommendations
Elevate your meal by pairing this quick and easy no-knead bread with these flavorful sides:
- Tomato Basil Soup: A classic combination that’s comforting and delicious.
- Potato Leek Soup: The creamy texture pairs beautifully with the crusty bread.
- Garlic Butter Shrimp: Serve the bread as a base for soaking up the flavorful garlic butter sauce.
- Caprese Salad: Fresh mozzarella, tomatoes, and basil complement the rustic bread.
- Beef Stew: Use the bread to scoop up the hearty, savory flavors.
- Roasted Vegetables: A medley of roasted zucchini, carrots, and bell peppers offers a healthy side.
- Soft Scrambled Eggs: Top with chives and serve with a slice of toasted bread for a light breakfast.
- Hummus or Baba Ghanoush: Spread these creamy dips over slices for a simple appetizer or snack.

Expert Tips for the Perfect Loaf
To take your quick and easy no-knead bread to the next level, keep these tips in mind:
- Enhance the flavor: Add mix-ins like chopped fresh rosemary, shredded cheddar cheese, or pitted olives to the dough before the rise.
- Experiment with flour: Swap a portion of the bread flour for whole wheat flour for a nuttier flavor. (Tip: Reduce the water slightly as whole wheat flour absorbs more liquid.)
- Create a rustic look: Lightly dust the top of the dough with flour before baking to achieve a bakery-style finish.
- Test for doneness: Tap the bottom of the loaf when it’s out of the oven—if it sounds hollow, it’s ready.
- Freeze for freshness: Make extra dough and freeze it for up to 3 months. Let it thaw overnight in the refrigerator and bake as usual.
Storage and Reheating Instructions
Storage
- Room temperature: Store the bread in a paper bag or wrap it loosely in parchment paper to preserve the crust. Avoid airtight containers, which can make the crust soft.
- Freezing: Slice the bread before freezing. Wrap slices in plastic wrap or parchment paper, then store in a freezer bag for up to 3 months.
Reheating
- Slices: Toast individual slices straight from the freezer for a quick snack.
- Whole loaf: Reheat the entire loaf in a 350°F (175°C) oven for 10-15 minutes to restore its crusty exterior.

Frequently Asked Questions (FAQs)
1. Can I use all-purpose flour instead of bread flour?
Yes, all-purpose flour works, but bread flour is recommended for its higher protein content, which creates a chewier texture and better structure.
2. What if I don’t have a Dutch oven?
No problem! Use a heavy oven-safe pot with a tight-fitting lid, or bake on a baking sheet with a tray of water in the oven to create steam.
3. How do I know if my bread has risen enough?
The dough should double in size and appear bubbly on the surface. Press your finger lightly into the dough—if the indentation stays, it’s ready to bake.
4. Can I let the dough rise overnight?
Absolutely! Refrigerate the dough overnight for a slower rise that enhances the flavor. Bring it to room temperature for 30 minutes before baking.
5. Why is my bread dense and not airy?
This usually happens if the dough didn’t rise long enough or the yeast wasn’t activated properly. Ensure the water temperature is warm enough and allow sufficient rising time.
6. How can I make the crust softer?
If you prefer a softer crust, wrap the loaf in a clean kitchen towel immediately after baking. The trapped steam will soften the crust as it cools.
7. Can I add sweet ingredients like raisins or cinnamon?
Yes! Add raisins, cinnamon, or even chocolate chips for a sweet variation of this bread.
8. How long will the bread stay fresh?
The bread is best enjoyed within 2 days. To extend freshness, freeze slices and reheat as needed.
Conclusion
With its minimal ingredients, hands-off preparation, and bakery-quality results, this quick and easy no-knead bread is a must-try recipe for both novice and seasoned bakers. Its versatility makes it perfect for pairing with soups, salads, or simply enjoying warm with butter.
Ready to impress your friends and family? Start baking your own quick and easy no-knead bread today and experience the joy of homemade artisan bread.
For more easy bread recipes and baking tips, check out our bread recipes collection. 🍞

Quick and Easy No-Knead Bread
Ingredients
- 3 cups bread flour
- 1 packet 2 teaspoons rapid rise yeast
- 1 ½ teaspoons salt
- 1 ½ cups warm water
Instructions
Mix the Dough:
- In a large mixing bowl, combine the flour, rapid rise yeast, and salt.
- Add the warm water and mix with a wooden spoon or spatula until a sticky dough forms. This is normal—don’t worry if it looks messy!
Let the Dough Rise:
Preheat the Oven:
- A few minutes before the rising time is complete, preheat your oven to 450°F (232°C). Place a Dutch oven (with the lid on) in the oven to heat while it preheats.
Shape the Dough:
- Lightly sprinkle flour on your countertop and turn the dough out onto it.
- Gently fold the sides of the dough inward about 6 times to form a round loaf. If the dough sticks to your hands, dust them lightly with flour.
Transfer to Parchment Paper:
- Use a dough scraper or large knife to transfer the dough onto a piece of parchment paper. Leave enough parchment paper hanging over the sides to help lift the bread later.
Bake the Bread:
- Carefully remove the Dutch oven from the oven (it will be very hot!).
- Bake for 30 minutes with the lid on.
- After 30 minutes, remove the lid and bake for an additional 15 minutes, or until the bread is golden brown.
Cool and Serve:
- Remove the bread from the Dutch oven using the parchment paper and let it cool on a wire rack before slicing.
Notes
Safety Tip: Be cautious when handling the hot Dutch oven.
Storage: Store leftover bread in a paper bag or wrap loosely to keep the crust crisp.


Leave a Comment