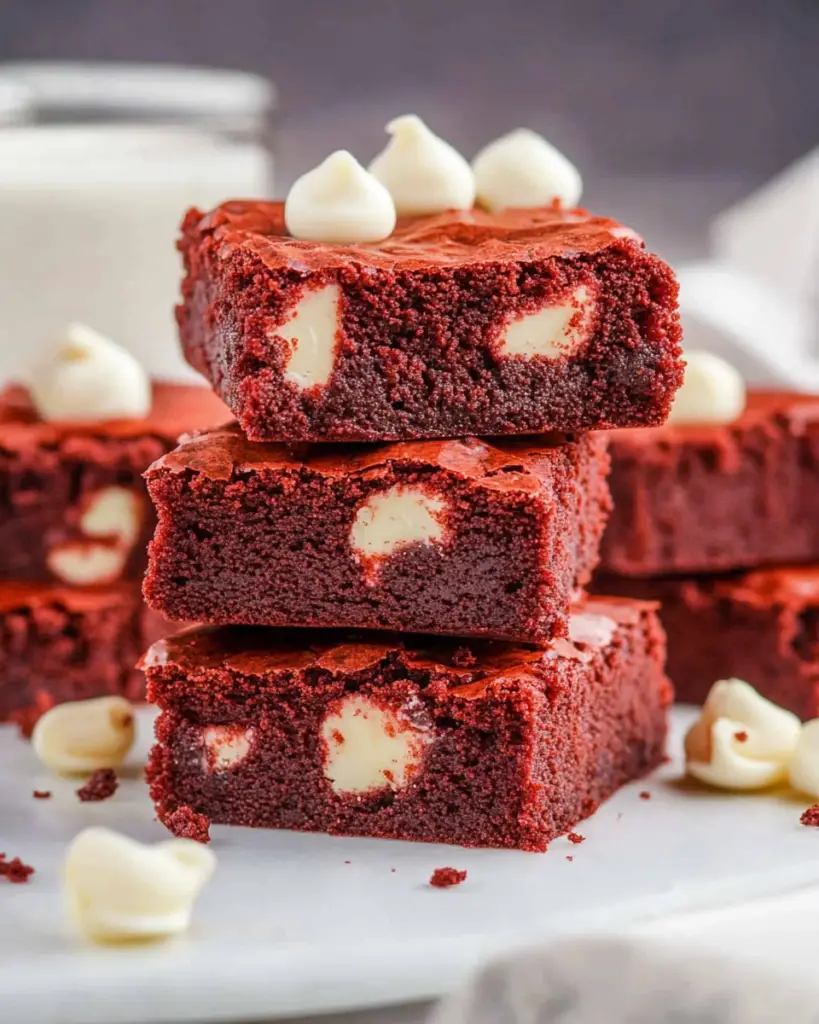
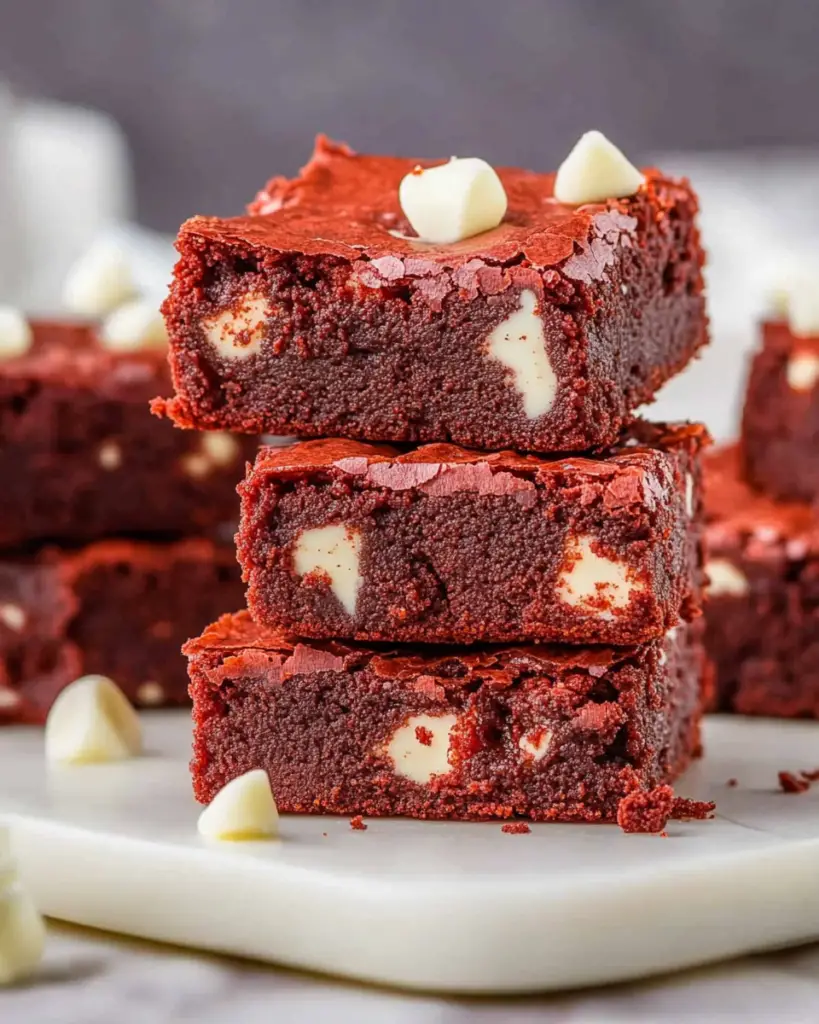
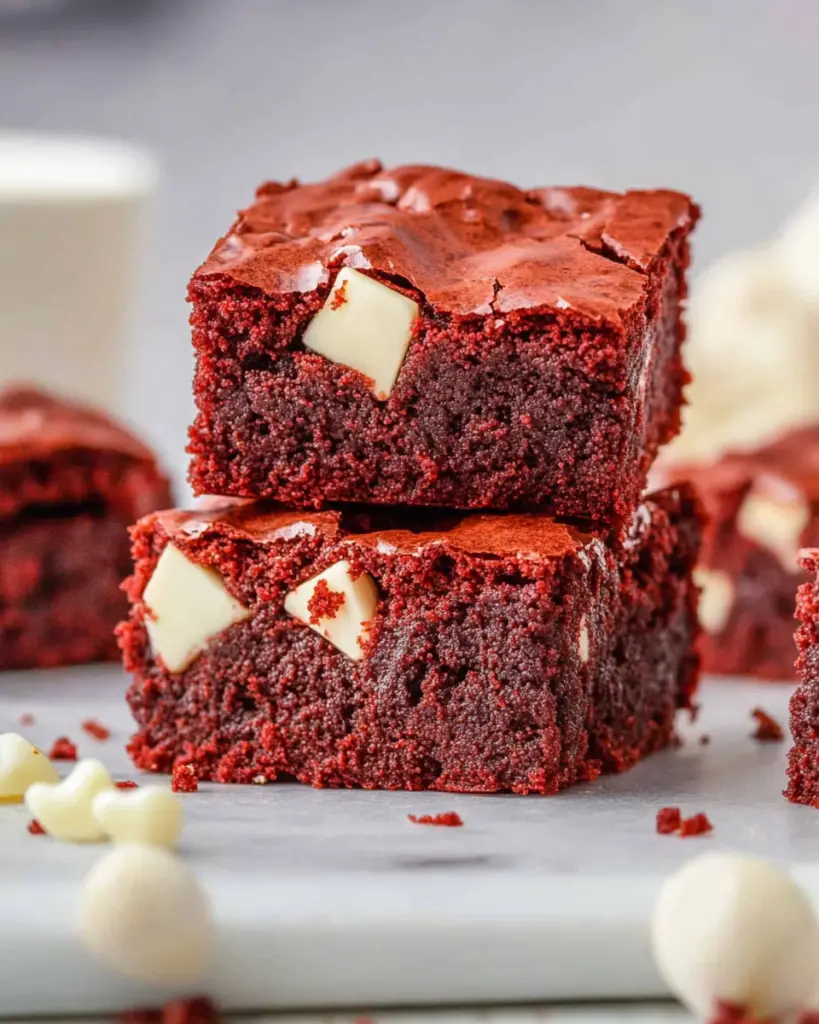
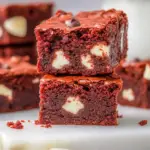
These Red Velvet Brownies deliver everything you love about a traditional brownie—moist, rich, and satisfying—with a unique twist. Their vibrant red color, subtle cocoa flavor, and creamy white chocolate chips set them apart as a stand-out dessert for holidays, parties, or anytime indulgence.
Grab This Chef Knife Now - Almost Gone!
- Stays Razor-Sharp: Ice-hardened blade keeps its edge longer than ordinary knives
- Superior Grip Control: Unique finger hole design gives you perfect balance and safety
- Built to Last a Lifetime: Premium stainless steel blade with elegant beech wood handle
Customer Reviews ★★★★★
While red velvet is typically associated with cake, these brownies take that familiar flavor and condense it into a chewy, dense bar that combines the best parts of brownies and cake. With just the right balance of sweetness and depth, they’re ideal for gifting, potlucks, or making an everyday moment feel special.
Why This Recipe Stands Out
This recipe is simple to prepare and doesn’t require any fancy techniques. It uses basic pantry ingredients and yields consistent results every time. Whether you’re a beginner or a seasoned home baker, you’ll appreciate how easy it is to get perfectly textured brownies with that signature red velvet flavor.
What Makes It Special:
- Soft, chewy texture with a slight crisp at the edges
- Rich cocoa flavor balanced by tangy vinegar and vanilla
- Beautiful red color that’s perfect for festive occasions
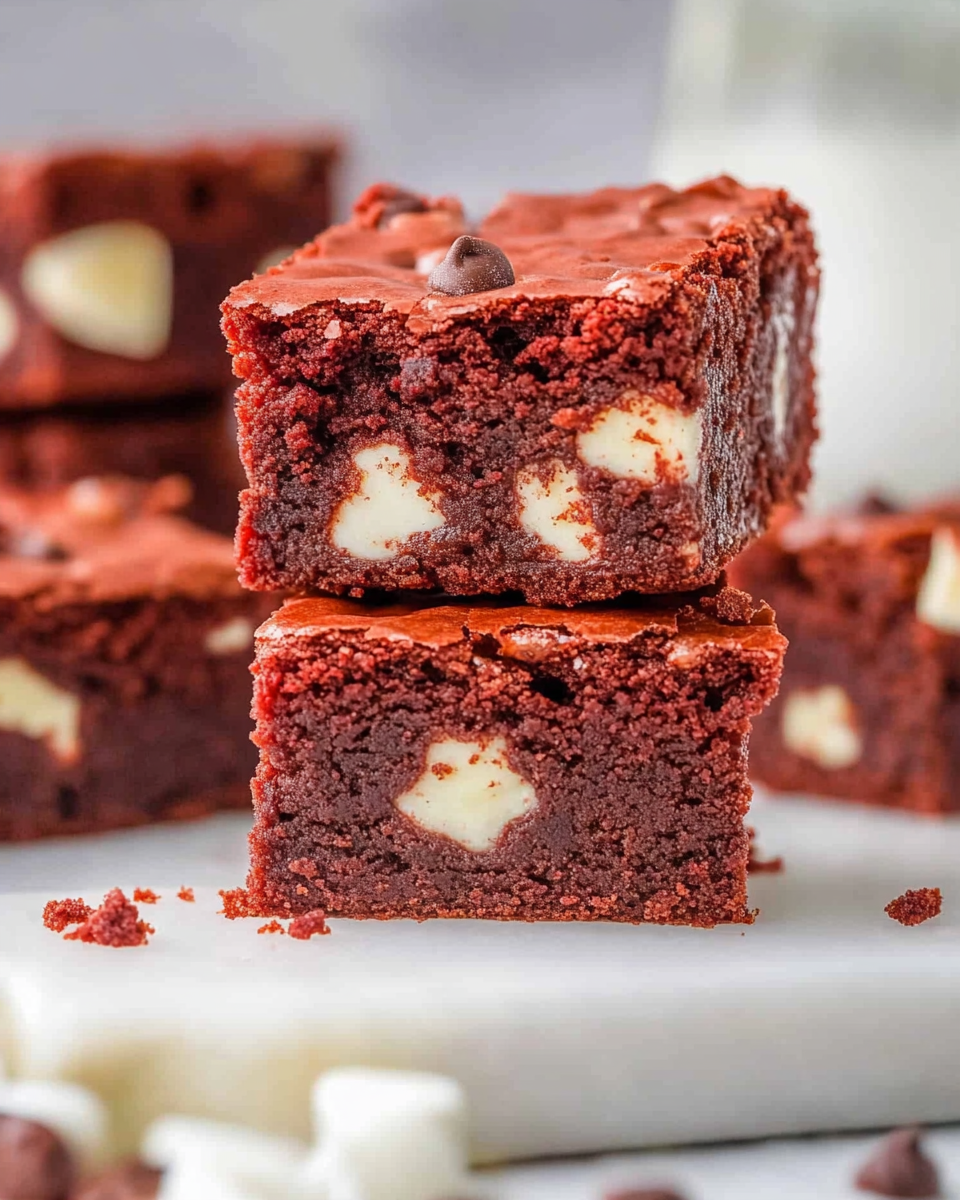
- White chocolate chips add a creamy contrast to the fudgy base
- Quick prep time and minimal clean-up
Tools and Equipment You’ll Need
Before you begin, gather the following kitchen tools to make the process smooth and efficient.
Essential Baking Tools:
- Mixing bowls (large and medium)
- Whisk or electric mixer
- Rubber spatula
- 9×9-inch square baking pan
- Parchment paper
- Nonstick cooking spray
- Measuring cups and spoons
- Toothpick (for doneness testing)
Why These Tools Matter:
- Mixing bowls allow easy ingredient combining without spills.
- A whisk or electric mixer ensures smooth, lump-free batter.
- Rubber spatula helps scrape the bowl clean and fold in flour gently.
- Parchment paper makes removing and slicing the brownies much easier.
- Toothpick gives a reliable way to test if the brownies are baked just right.
Prep Tips for Perfect Results
Set yourself up for success with these helpful preparation tips:
- Use room temperature eggs to ensure smooth mixing and even baking.
- Add food coloring gradually to reach your ideal shade of red.
- Do not overmix the batter after adding flour to avoid tough brownies.
- Line your pan with parchment paper to prevent sticking and for easy cleanup.
- Let brownies cool fully in the pan to allow the texture to set before slicing.
Organized Ingredient List
Dry Ingredients:
- 1 cup all-purpose flour
- 5 tablespoons unsweetened cocoa powder
- ½ teaspoon table salt
- 1¼ cups granulated sugar
Wet Ingredients:
- 12 tablespoons unsalted butter, melted
- 3 eggs
- ¾ teaspoon vanilla extract
- ¾ teaspoon white vinegar
- 10–12 drops Wilton red food coloring (adjust to preference)
Add-ins:
- 1 cup white chocolate chips, divided
Step-by-Step Instructions
Follow these detailed steps to make Red Velvet Brownies that come out perfectly every time.
- Preheat oven to 350°F (175°C). Line a 9×9-inch pan with parchment paper and lightly spray with nonstick cooking spray.
- Combine melted butter, cocoa powder, salt, and sugar in a large mixing bowl. Whisk until fully combined and smooth.
- Add eggs, vanilla extract, and vinegar to the bowl. Continue whisking until the mixture becomes glossy and thick.
- Add flour gradually, folding it in with a spatula. As you mix, begin adding the red food coloring a few drops at a time, adjusting until the desired color is reached.
- Fold in half of the white chocolate chips (½ cup) until evenly distributed throughout the batter.
- Pour batter into the prepared pan, smoothing the top with your spatula. Sprinkle the remaining ½ cup of white chocolate chips over the surface.
- Bake for 22 to 25 minutes or until a toothpick inserted into the center comes out with a few moist crumbs.
- Cool in the pan for at least 1 hour before slicing into squares. This helps the brownies firm up for clean cuts.
How to Serve Red Velvet Brownies for Maximum Appeal
These brownies are delicious on their own, but you can elevate them further with thoughtful presentation and complementary pairings. Because of their rich flavor and striking color, they lend themselves well to both casual and formal settings.
Whether you’re hosting a gathering or preparing treats for a special occasion, here are several ways to serve red velvet brownies to impress your guests or simply enjoy a more indulgent dessert moment.
Creative Serving Suggestions
- With vanilla ice cream: Serve warm brownies with a scoop of vanilla ice cream for a hot and cold contrast that brings out the rich cocoa notes.
- Drizzled with cream cheese glaze: Create a simple glaze using cream cheese, powdered sugar, and a splash of milk. Drizzle over the top for a classic red velvet cake flavor profile.
- Topped with whipped cream and berries: A dollop of whipped cream and a few fresh raspberries or strawberries add color and freshness.
- Cut into festive shapes: Use a cookie cutter to shape brownies into hearts or stars for holidays and celebrations.
- Layered in a dessert trifle: Cut the brownies into cubes and layer with whipped cream, fresh berries, and pudding for an elegant trifle.
- With espresso or black coffee: The deep flavors of coffee complement the cocoa and white chocolate, making for a refined pairing.
- Dusting with powdered sugar: A light dusting of sugar can add a touch of elegance and highlight the red color.
- As a gift: Wrap squares individually in wax paper and place in a decorative box for a homemade gift idea.
Common Mistakes to Avoid and How to Get Them Right
Even with a straightforward recipe, small missteps can impact your final result. Here are the most common issues people face when making red velvet brownies, along with simple fixes to help you avoid them.
Mistake 1: Overbaking
Why it matters: Overbaked brownies become dry and cakey, losing the desired fudgy texture.
How to fix it: Start checking doneness at 22 minutes. Insert a toothpick into the center—it should come out with moist crumbs, not dry.
Mistake 2: Using poor-quality food coloring
Why it matters: Low-quality food coloring can lead to dull or muddy colors, affecting visual appeal.
How to fix it: Use gel-based food coloring like Wilton for vibrant results without changing the taste or texture.
Mistake 3: Skipping the vinegar
Why it matters: Vinegar is key to red velvet flavor. It reacts with the cocoa to enhance both taste and color.
How to fix it: Always include the vinegar. It adds the tangy flavor and reacts chemically to boost the vibrant red hue.
Mistake 4: Overmixing the batter
Why it matters: Overmixing can develop the gluten in flour, leading to tough, dense brownies.
How to fix it: Once you add the flour, mix just until combined. Stop as soon as you don’t see any streaks of flour.
Mistake 5: Not cooling before slicing
Why it matters: Slicing warm brownies results in messy edges and broken pieces.
How to fix it: Allow the brownies to cool in the pan for at least an hour before slicing.
The Best Side Dishes to Serve With Red Velvet Brownies
These eight side options offer the perfect contrast or complement to the richness of the brownies. Whether you’re planning a dessert platter or serving them as part of a full meal, these sides add balance and variety.
1. Fresh Berries and Whipped Cream
The brightness of fresh berries cuts through the richness of the brownies, and whipped cream adds a light, airy texture.
2. Espresso or Cold Brew Coffee
The bold, bitter flavor of coffee enhances the cocoa and contrasts with the sweetness of the white chocolate chips.
3. Vanilla Milkshake
A classic vanilla milkshake provides a creamy pairing that complements the dense texture of the brownies.
4. Mini Fruit Salad
A colorful fruit medley with a citrusy dressing provides a refreshing palate cleanser.
5. Cream Cheese Mousse
Creamy, tangy mousse pairs perfectly with the cocoa and red velvet flavor, tying the dessert to its cake origins.
6. Raspberry Sorbet
Cool and slightly tart, raspberry sorbet enhances the berry and chocolate flavor notes.
7. Chocolate-Covered Strawberries
These add elegance and reinforce the chocolate flavor theme without overwhelming the palate.
8. Hot Cocoa with Marshmallows
For winter months or cozy nights, a mug of hot cocoa is a comforting and thematic match.
Recipe Tips for the Best Red Velvet Brownies Every Time
Even a simple recipe can be elevated with thoughtful technique. These tips ensure that your red velvet brownies turn out rich, moist, and picture-perfect every time you bake them.
Use Room Temperature Ingredients
Allow your eggs and melted butter to sit at room temperature before mixing. This helps all ingredients combine more smoothly, creating a uniform batter and better texture in the final product.
Gradually Add Food Coloring
Red food coloring can be strong, and adding too much can alter flavor or texture. Start with a few drops and increase gradually. Gel-based food colorings offer better color payoff with less volume.
Don’t Skip the Vinegar
Vinegar isn’t just a traditional ingredient; it activates the cocoa and enhances the flavor while helping intensify the red tone. It’s a small amount but an essential one.
Mix the Batter Gently
Once the flour is added, stir only until the ingredients are combined. Overmixing at this stage will develop gluten, resulting in dense or rubbery brownies instead of soft, fudgy ones.
Watch the Bake Time
Every oven is different. Begin checking the brownies at the 22-minute mark. Look for a toothpick inserted into the center to come out with a few moist crumbs. This means they’re done but still moist inside.
Let Brownies Cool Before Cutting
Cooling allows the brownies to set. Cutting too early can make them fall apart. Let them rest in the pan for at least an hour before slicing.
Storage and Reheating Instructions
Proper storage ensures your brownies stay moist and flavorful for days after baking.
At Room Temperature
Store brownies in an airtight container at room temperature for up to 3 days. Place parchment or wax paper between layers to prevent sticking.
In the Refrigerator
For longer freshness, refrigerate the brownies. They’ll stay good for up to 1 week. Just allow them to come to room temperature before serving to enjoy their full texture and flavor.
Freezing Instructions
You can freeze individual squares by wrapping them in plastic wrap and then aluminum foil. Store in a freezer-safe bag or container for up to 3 months. Thaw overnight in the fridge or on the counter before serving.
Reheating Tips
If you prefer warm brownies, microwave a slice for 10 to 15 seconds. This will slightly melt the white chocolate chips and restore that soft, gooey texture. Avoid overheating, which can dry them out.
Frequently Asked Questions (FAQs)
What is the difference between red velvet and chocolate brownies?
Red velvet has a milder cocoa flavor and includes vinegar and food coloring to give it a unique tang and deep red hue. Chocolate brownies are richer and more intensely flavored.
Can I make these brownies without food coloring?
Yes, but they won’t have the classic red velvet appearance. You can substitute with beetroot powder or natural colorants if you prefer a more natural option.
Is the vinegar necessary?
Yes. It reacts with the cocoa and enhances both flavor and color. It also contributes to the tender crumb texture that red velvet is known for.
Can I use dark chocolate instead of white chocolate chips?
You can, but it will change the flavor profile. White chocolate adds creamy sweetness and visual contrast. Dark chocolate will make the brownies richer and more intense.
How do I make these gluten-free?
Use a 1:1 gluten-free flour blend in place of all-purpose flour. Be sure to check that your white chocolate chips are also certified gluten-free.
Can I double the recipe for a larger batch?
Yes. You can double the ingredients and bake them in a 9×13-inch pan. Add 5 to 8 minutes to the baking time, but begin checking early to avoid overbaking.
What kind of cocoa powder is best?
Use unsweetened, natural cocoa powder. Dutch-processed cocoa is less acidic and may not react as well with the vinegar, potentially affecting color and flavor.
Final Thoughts
These Red Velvet Brownies combine classic comfort with an eye-catching twist. Whether you serve them at a party, wrap them as a gift, or simply enjoy them at home, they deliver a rich, moist texture and a beautiful finish that makes them unforgettable.
The recipe is easy to follow, the ingredients are accessible, and the results are consistently delicious. From the gentle tang of the vinegar to the creamy sweetness of the white chocolate, every bite captures the essence of what makes red velvet so special.
By following the tips outlined and avoiding common mistakes, you’ll get professional-quality results every time. Store them properly, reheat with care, and these brownies will remain a go-to treat in your baking rotation.
Let me know if you’d like a WordPress-ready export, internal linking recommendations, or social media captions to go with this content.
Red Velvet Brownies
Ingredients
- 12 tablespoons unsalted butter melted
- 5 tablespoons unsweetened cocoa powder
- ½ teaspoon table salt
- 1¼ cups granulated sugar
- 3 eggs
- ¾ teaspoon vanilla extract
- ¾ teaspoon white vinegar
- 1 cup all-purpose flour
- 10 –12 drops Wilton red food coloring adjust to desired color
- 1 cup white chocolate chips divided
Instructions
- Preheat the oven to 350°F (175°C). Line a 9×9-inch baking pan with parchment paper and spray with nonstick cooking spray.
- In a large bowl, whisk together the melted butter, cocoa powder, salt, and sugar until fully combined.
- Add the eggs, vanilla extract, and vinegar. Mix until smooth.
- Gently fold in the flour. Before it’s completely mixed, begin adding the red food coloring a few drops at a time until the desired hue is reached.
- Fold in ½ cup of the white chocolate chips.
- Pour the batter into the prepared baking pan and smooth the top. Sprinkle the remaining ½ cup of white chocolate chips evenly over the surface.
- Bake for 22–25 minutes, or until a toothpick inserted in the center comes out with a few moist crumbs.
- Let the brownies cool in the pan for at least 1 hour before slicing into squares and serving.



Leave a Comment