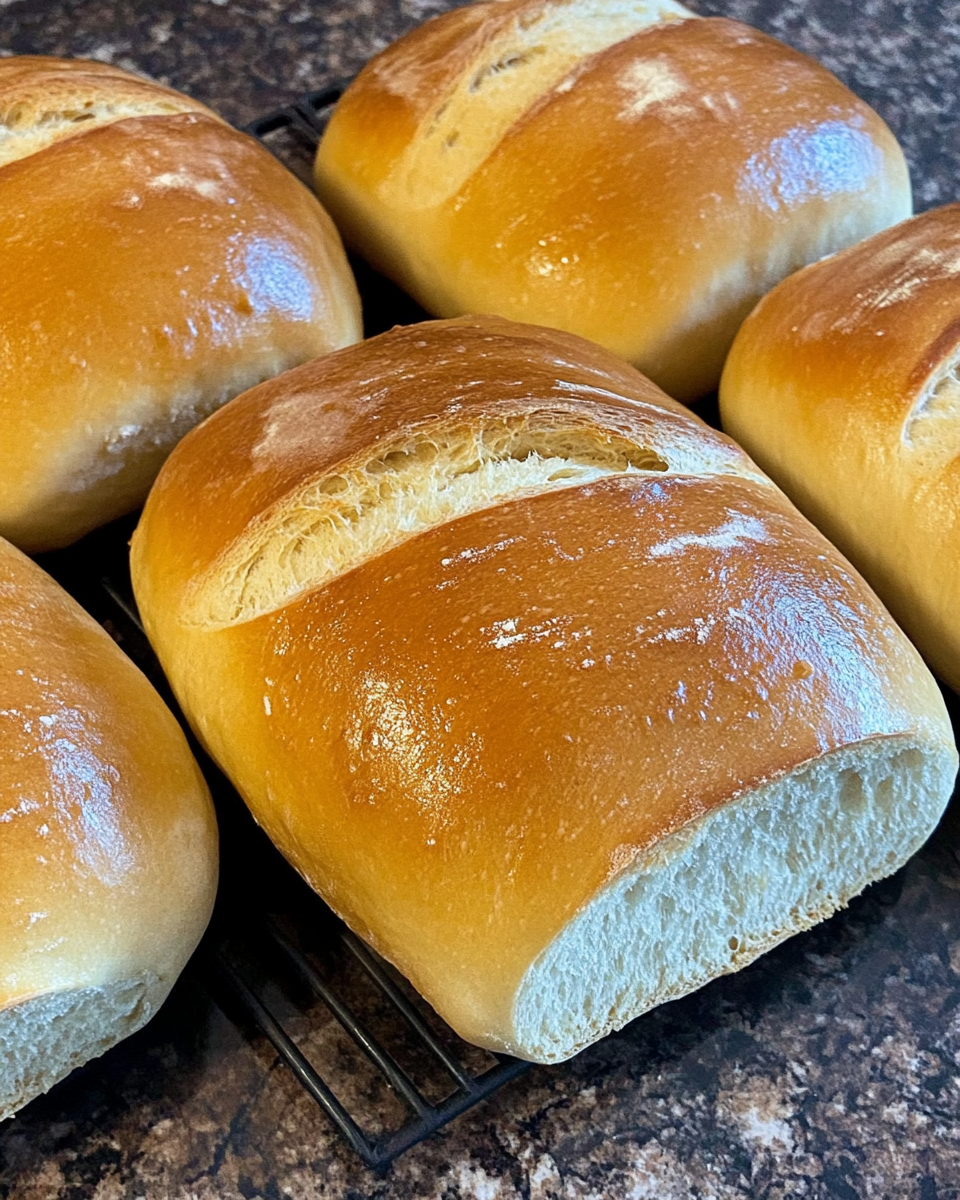
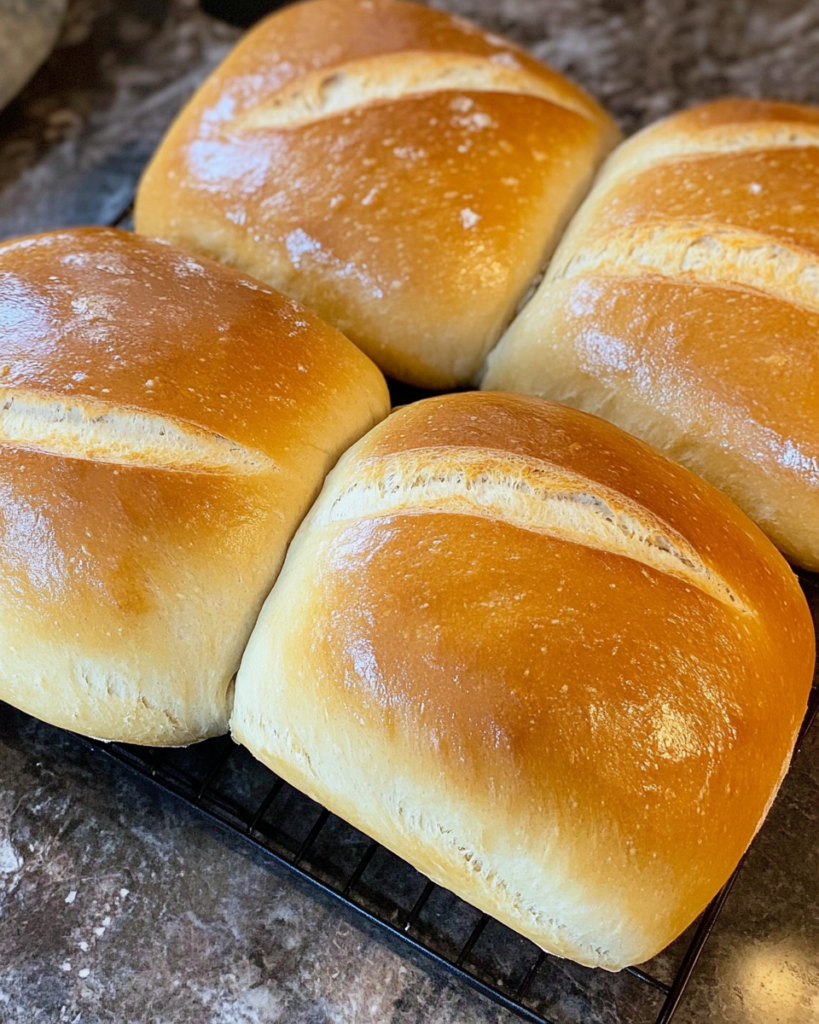
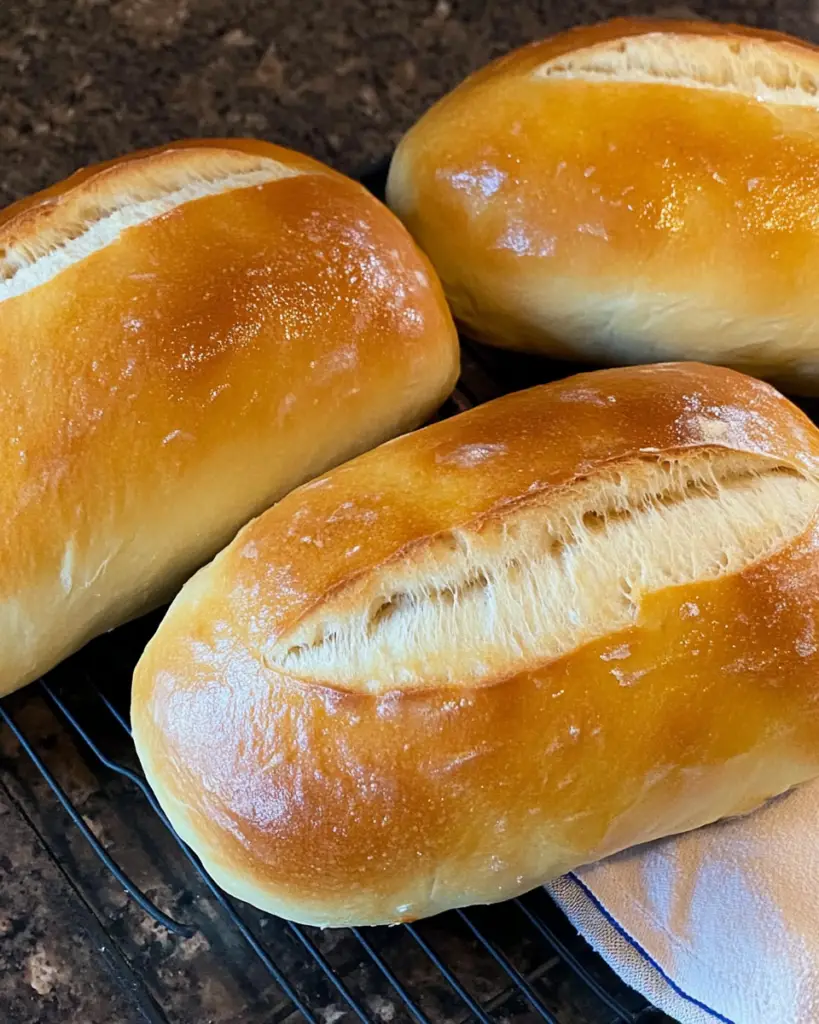
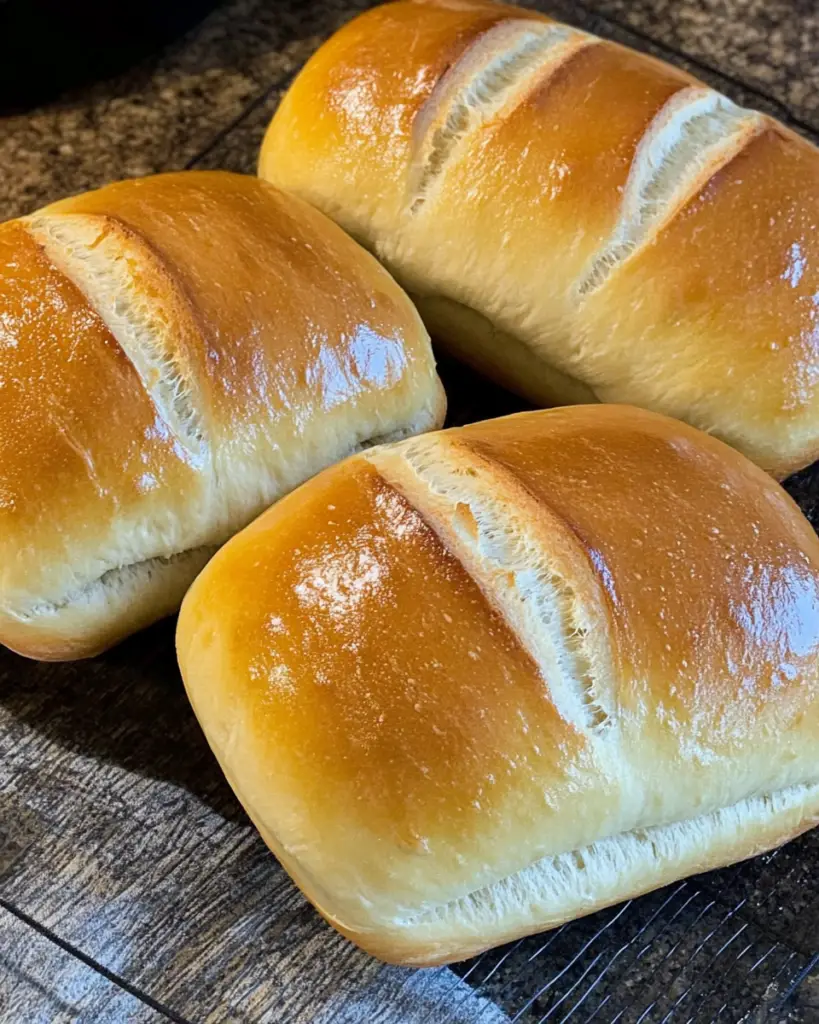
This soft sourdough sandwich bread is light, fluffy, and perfect for sandwiches, toast, and French toast. Unlike traditional sourdough bread, which can have a thick, chewy crust, this recipe produces a softer loaf with a tender exterior. The long fermentation process enhances the flavor while making the bread easier to digest.

What makes this recipe stand out is its ease of preparation. There’s no need for stretching or folding, making it an excellent choice for beginners or those with a busy schedule. The process takes about 24 hours from start to finish, but the hands-on time is minimal—only about 10 minutes.
Grab This Chef Knife Now - Almost Gone!
- Stays Razor-Sharp: Ice-hardened blade keeps its edge longer than ordinary knives
- Superior Grip Control: Unique finger hole design gives you perfect balance and safety
- Built to Last a Lifetime: Premium stainless steel blade with elegant beech wood handle
Customer Reviews ★★★★★
Why You’ll Love This Recipe
- Soft and Fluffy Texture – Ideal for sandwiches and toast.
- No Kneading or Stretching Required – Simple and beginner-friendly.
- Deep Flavor Development – Long fermentation enhances taste.
- Customizable Ingredients – Use different fats and sweeteners.
- Minimal Hands-On Time – Perfect for a busy schedule.
Preparation Phase & Essential Tools
Before getting started, make sure you have the necessary tools and ingredients ready.
Essential Tools and Equipment
- Large Mixing Bowl – Needed for both the pre-ferment and dough.
- Stand Mixer with Dough Hook – Speeds up the mixing process (optional).
- Measuring Cups and Spoons – For accurate ingredient portions.
- Loaf Pans (4 Standard Size) – Ensures even baking.
- Plastic Wrap or Kitchen Towel – Covers the dough during rising.
- Bench Scraper or Sharp Knife – Helps divide and shape the dough.
- Oven Thermometer – Ensures accurate baking temperature.
- Bread Lame or Sharp Razor Blade – For scoring the bread before baking.
Preparation Tips
- Feed Your Starter Early – Ensure it’s bubbly and active before use.
- Use Warm Liquids – Helps the dough rise efficiently, especially in cooler temperatures.
- Measure Flour Correctly – Spoon it into the measuring cup and level it off to avoid adding too much.
- Grease Loaf Pans Well – Prevents sticking and makes for easy removal.
Ingredients
For the Pre-ferment
- 2 cups active sourdough starter
- 2 cups warm water, milk, or buttermilk
- 3 cups all-purpose or bread flour
For the Dough
- ¼ cup fat (butter, oil, melted coconut oil, or beef tallow)
- ½ cup sweetener (honey or sugar)
- 4 teaspoons salt
- 3 cups warm milk or buttermilk
- 9–11 cups all-purpose or bread flour
Step-by-Step Directions
1. Feed the Sourdough Starter
- Mix ½ cup starter with 2 cups flour and about 1⅓ cups warm water.
- Let it sit at room temperature for about 4–6 hours until active and bubbly.
2. Prepare the Pre-ferment (Night Before)
- In a large bowl or stand mixer, combine:
- 2 cups warm milk or buttermilk
- 2 cups active sourdough starter
- 3 cups flour
- Mix on low speed for about 1 minute.
- Cover and let ferment overnight (8–12 hours) at room temperature.
3. Mix the Dough (Next Morning)
- Add to the pre-ferment:
- ¼ cup fat
- ½ cup sweetener
- 4 teaspoons salt
- 3 cups warm milk or buttermilk
- Mix on low speed until combined.
- Add 5 cups of flour and mix on medium speed for 5–10 minutes.
- Gradually add 4–6 more cups of flour until the dough pulls away from the sides of the bowl and is slightly sticky.
- Continue mixing for another 2–3 minutes.
4. First Rise (Bulk Fermentation)
- Transfer dough to a large oiled mixing bowl.
- Cover with a towel or plastic wrap.
- Let rise in a warm spot for 2–3 hours, or until doubled in size.
5. Shape the Loaves
- Punch down the dough and transfer to a lightly floured surface.
- Divide into 4 equal pieces.
- Flatten each into a rectangle, then fold the corners inward to form a triangle.
- Roll the dough away from you to form a loaf, tucking the edges under.
- Place the loaves in greased loaf pans.
6. Second Rise
- Cover and let the loaves rise until just above the edges of the pans (about 2–3 hours).
7. Bake
- Preheat oven to 375°F (190°C).
- Slash the tops of the loaves with a bread lame or razor blade.
- Bake for 30 minutes, or until the internal temperature reaches 190°F (88°C).
8. Cool and Store
- Remove loaves from pans and place on a cooling rack.
- Brush tops with butter for a softer crust.
- Let cool completely before slicing.
- Store in a plastic bag at room temperature for up to 1 week.
- Freeze for up to 3 months (slice before freezing for convenience).
Serving Suggestions
This soft sourdough sandwich bread is incredibly versatile and works well for a variety of meals. Whether you’re making a quick breakfast, a hearty lunch, or a comforting dinner, this bread adds the perfect texture and flavor.
1. Classic Sandwiches
This bread is ideal for deli-style sandwiches. Try it with turkey, ham, roast beef, or a simple peanut butter and jelly combination. The soft texture makes it easy to slice and holds fillings well without falling apart.
2. Avocado Toast
For a nutritious breakfast or snack, toast a slice and top it with mashed avocado, a sprinkle of salt, and a drizzle of olive oil. Add extras like cherry tomatoes, feta cheese, or a poached egg for more flavor.
3. French Toast
The soft crumb of this bread soaks up egg mixture perfectly, making it an excellent choice for French toast. Dip thick slices into a blend of eggs, milk, cinnamon, and vanilla, then cook until golden brown. Serve with maple syrup, fresh berries, or whipped cream.
4. Grilled Cheese
This bread crisps beautifully when grilled, creating the perfect golden crust for a classic grilled cheese. Pair it with cheddar, Swiss, or gouda, and serve with tomato soup for a comforting meal.
5. Bread Pudding
Stale slices of this bread can be repurposed into a rich, custard-soaked bread pudding. Mix eggs, milk, sugar, and vanilla, then pour over cubed bread and bake until golden and set.
6. Garlic Bread
Brush slices with melted butter, minced garlic, and fresh parsley, then bake until golden. Serve alongside pasta dishes, soups, or roasted meats.
7. Soup and Stew Side
This bread makes an excellent side for hearty soups and stews. Serve it with beef stew, chicken noodle soup, or creamy chowder for a filling meal.
8. Bruschetta
Lightly toast the bread, then top with diced tomatoes, basil, olive oil, and balsamic glaze for an easy appetizer.

Common Mistakes to Avoid & How to Perfect the Recipe
Even though this recipe is beginner-friendly, there are a few mistakes that can impact the final result. Understanding these pitfalls will help ensure your bread turns out soft and delicious every time.
1. Using an Inactive Sourdough Starter
If your starter isn’t bubbly and active, the bread won’t rise properly. Make sure to feed it a few hours before using it and check that it doubles in size before incorporating it into the dough.
2. Adding Too Much Flour
It can be tempting to keep adding flour if the dough feels sticky, but too much flour results in dense, dry bread. The dough should be slightly tacky but not overly wet. Add flour gradually, only until the dough pulls away from the bowl while mixing.
3. Skipping the Second Rise
The second rise is essential for developing the soft, airy texture of the bread. If you rush this step, the loaves will be dense. Allow them to rise until just above the edge of the loaf pan before baking.
4. Overproofing the Dough
Letting the dough rise too long can cause it to collapse in the oven. If the dough looks too puffy or starts to deflate slightly, it may be overproofed. Keep an eye on the rise time, especially in warm conditions.
5. Using Cold Ingredients
Cold liquids slow down fermentation, affecting the dough’s ability to rise. Always use warm milk or water to keep the fermentation process on track, particularly in colder months.
6. Not Greasing the Loaf Pans Properly
For easy removal, thoroughly grease the loaf pans before placing the dough inside. You can use butter, oil, or a nonstick spray to prevent sticking.
7. Baking at the Wrong Temperature
An oven that’s too hot can cause the crust to brown too quickly while leaving the inside undercooked. Conversely, an oven that’s too cool may lead to under-risen bread. Using an oven thermometer helps ensure the correct baking temperature of 375°F (190°C).
8. Slicing the Bread Too Soon
It’s tempting to cut into a warm loaf, but doing so can make the bread gummy inside. Allow the bread to cool completely before slicing to maintain the best texture.

Recipe Tips
1. Adjust for Different Climates
Temperature affects fermentation, so adjust accordingly:
- In cold weather: Use warm liquids, let the dough rise in a slightly warmer environment, and allow extra time for fermentation.
- In warm weather: Keep an eye on the dough to prevent overproofing. If necessary, place it in a cooler area or refrigerate it briefly during the rise.
2. Use the Right Flour
- Bread flour will create a chewier texture due to its higher protein content.
- All-purpose flour results in a softer loaf.
- You can mix both for a balance of structure and tenderness.
3. Customize the Flavor
- Use honey instead of sugar for a slight floral sweetness.
- Add herbs like rosemary or thyme for a savory twist.
- Mix in nuts, seeds, or dried fruit for extra texture.
4. Prevent a Tough Crust
If you prefer a soft crust, brush the loaves with melted butter immediately after baking. This keeps the exterior tender and adds flavor.
Storage and Reheating Instructions
Storing the Bread
- Room Temperature: Store in a sealed plastic bag or airtight container for up to 1 week.
- Refrigerator: Keeps fresh for up to 10 days, but may dry out faster.
- Freezing: Wrap loaves or slices in plastic wrap, then place them in a freezer bag. Freeze for up to 3 months.
Reheating Methods
- To revive freshness: Warm slices in the toaster or oven at 300°F (150°C) for 5–10 minutes.
- For frozen bread: Let it thaw at room temperature or place slices directly into the toaster.

FAQs
1. Can I use whole wheat flour?
Yes, but whole wheat absorbs more liquid, so you may need to add extra milk or water. A mix of 50% whole wheat and 50% all-purpose flour works well for a balanced texture.
2. Why didn’t my bread rise properly?
Several factors could be the cause:
- The sourdough starter may not have been active enough.
- The dough may have been too dry, preventing gluten development.
- The rise time may have been too short, especially in cooler environments.
3. How do I make this bread dairy-free?
Use water or plant-based milk instead of dairy milk, and substitute oil for butter.
4. Can I make smaller loaves or rolls?
Yes. Divide the dough into smaller portions for dinner rolls or mini loaves. Adjust the baking time to 20–25 minutes for rolls and 25–30 minutes for mini loaves.
5. What should I do if my crust is too hard?
Brush the bread with butter after baking to keep it soft, or store the loaf in a plastic bag to retain moisture.
6. Can I leave out the sweetener?
Yes, but the sugar or honey helps with browning and flavor. If omitted, the bread may have a milder taste and lighter color.
7. What is the best way to slice sourdough sandwich bread?
Use a serrated bread knife and slice when the bread is completely cool. For uniform slices, a bread slicer guide can help.
8. Can I double the recipe?
Yes, but ensure you have enough space for mixing, proofing, and baking multiple loaves at once.
Conclusion
This soft sourdough sandwich bread is an easy, flavorful recipe that fits into any schedule. With its airy texture and mild tangy taste, it’s perfect for sandwiches, toast, and more. By following these storage tips and troubleshooting common mistakes, you can enjoy fresh, homemade sourdough bread anytime.
Soft Sourdough Sandwich Bread
Ingredients
For the Pre-ferment:
- 2 cups active sourdough starter
- 2 cups water milk, or buttermilk (warm if your house is cool)
- 3 cups all-purpose or bread flour
Instructions
Feed Sourdough Starter
- Feed your sourdough starter by combining no more than 1/2 cup of starter with 2 cups flour and about 1 1/3 cups warm water.
- Let it sit at room temperature until active and bubbly.
Prepare the Pre-ferment
- In the bowl of a stand mixer, combine 2 cups of milk or buttermilk, 2 cups active sourdough starter, and 3 cups flour.
- Mix on low speed with the dough hook attachment for about 1 minute.
- Cover and let ferment overnight at room temperature.
Mix the Dough
- The next morning, add the fat, sweetener, salt, and remaining milk to the pre-ferment mixture. Mix on low speed until combined.
- Add 5 cups of flour and mix on medium speed for 5–10 minutes to develop the gluten.
- Gradually add 4–6 more cups of flour until the dough pulls away from the sides of the bowl and is only slightly sticky.
- Continue mixing for another 2–3 minutes.
First Rise
- Transfer the dough to a large oiled mixing bowl. Cover with a towel or plastic wrap and let it rise in a warm spot for 2–3 hours, or until doubled in size.
Shape the Loaves
- Once the dough has risen, punch it down and transfer it to a lightly floured surface.
- Divide into 4 equal pieces. Flatten each into a rectangle, then fold the corners inward to form a triangle.
- Roll the dough away from you to form a loaf, tucking the edges under.
- Place the loaves in greased loaf pans.
Second Rise
- Cover and let the loaves rise until just above the edges of the pans, about 2–3 hours.
Bake
- Preheat oven to 375°F (190°C). Slash the tops of the loaves with a bread lame or razor blade.
- Bake for 30 minutes, or until the internal temperature reaches 190°F (88°C).
Cool and Store
- Remove loaves from pans and place on a cooling rack. Brush the tops with butter for a softer crust.
- Let cool completely before slicing.
- Store in a plastic bag at room temperature or in the fridge for up to 1 week.
- Freeze for up to 3 months; for convenience, slice before freezing.


Leave a Comment