

There’s something truly magical about chocolate chip cookies—they’re a universal favorite that never goes out of style. Whether you’re a seasoned baker or a novice in the kitchen, these soft, chewy cookies are perfect for satisfying your sweet tooth. Packed with gooey, melted chocolate chips and boasting a perfect balance of sweetness and texture, this recipe will quickly become your go-to for any occasion. Whether you’re baking for a family gathering, a cozy night in, or simply because you’re craving something sweet, these cookies deliver every time.

Grab This Chef Knife Now - Almost Gone!
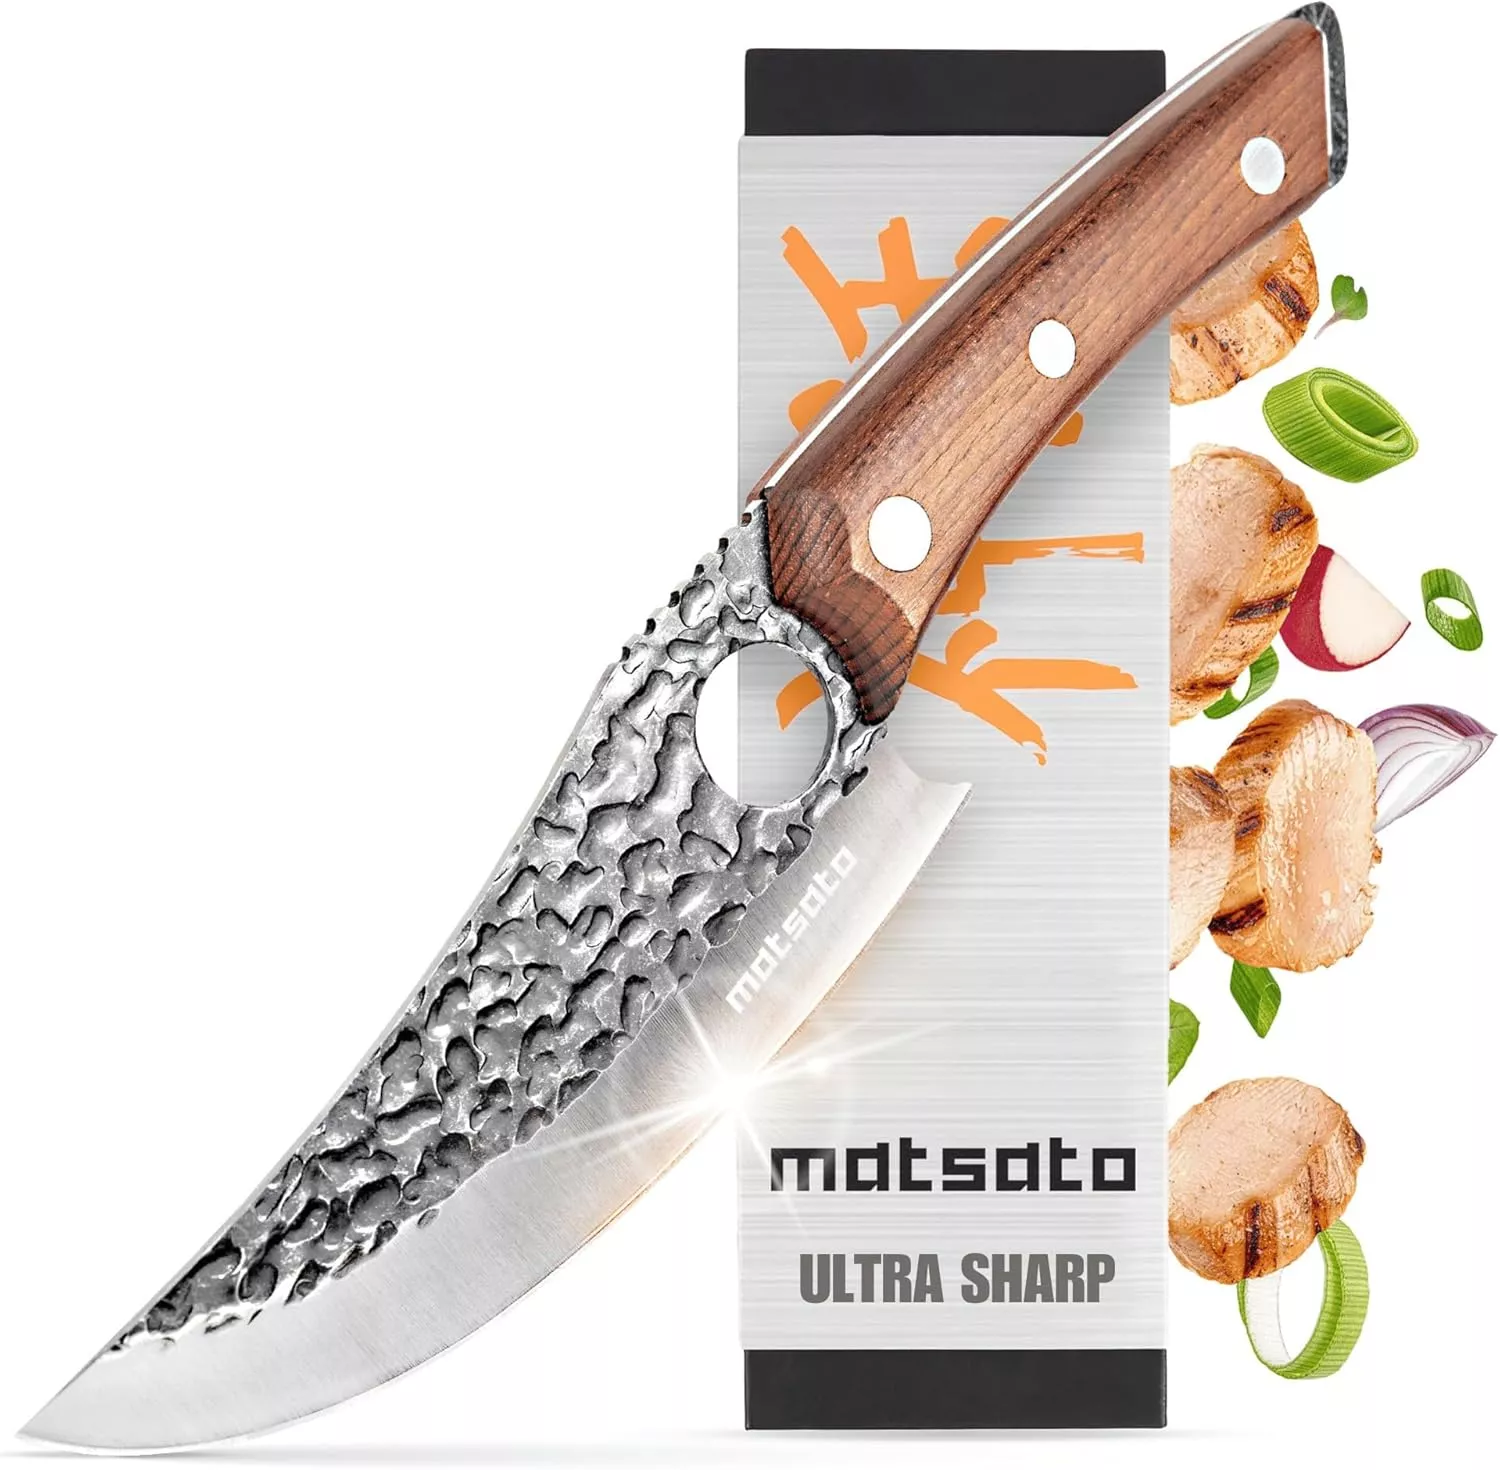
- Stays Razor-Sharp: Ice-hardened blade keeps its edge longer than ordinary knives
- Superior Grip Control: Unique finger hole design gives you perfect balance and safety
- Built to Last a Lifetime: Premium stainless steel blade with elegant beech wood handle
Customer Reviews ★★★★★
But what makes these cookies so irresistible? For starters, they’re soft and chewy with a slightly crisp edge, making them the ideal treat for anyone who loves a bit of texture in their cookies. Unlike some cookie recipes that turn out hard or overly crunchy, this one ensures a soft, melt-in-your-mouth experience. The richness of the chocolate chips and the hint of vanilla blend perfectly with the dough, creating the perfect cookie bite. Plus, this recipe is simple and quick to prepare, so you won’t have to spend hours in the kitchen to achieve perfect results.
Whether you’re serving them with a glass of milk, sharing them with friends and family, or simply enjoying a few with a cup of coffee, these chocolate chip cookies are sure to become a staple in your baking repertoire. Read on for detailed instructions and helpful tips on how to make the best chocolate chip cookies every time.
Preparation Phase & Tools to Use
Making these delicious chocolate chip cookies requires a few basic tools and ingredients. Here’s everything you’ll need to prepare your cookies to perfection:
Essential Tools and Equipment:
- Mixing Bowls: You’ll need two mixing bowls—one for the dry ingredients and one for the wet ingredients.
- Electric Mixer (Hand or Stand Mixer): An electric mixer will help you beat the butter and sugars to a smooth, creamy consistency, which is essential for the texture of your cookies.
- Cookie Scoop or Tablespoon: Using a cookie scoop ensures uniform cookie sizes, which helps them bake evenly. If you don’t have a scoop, a tablespoon works just fine.
- Baking Sheet: A flat baking sheet is essential for even heat distribution. Be sure to line it with parchment paper to prevent the cookies from sticking.
- Cooling Rack: After baking, a cooling rack allows air to circulate around the cookies, preventing them from becoming soggy as they cool down.
Why These Tools Are Important:
- Electric Mixer: The electric mixer ensures that the butter, sugars, and eggs are fully incorporated and evenly blended, resulting in a smooth, consistent dough. This is key for achieving the soft texture that makes these cookies so irresistible.
- Cookie Scoop: Using a cookie scoop or tablespoon ensures your cookies are all the same size, which promotes even baking. This prevents some cookies from being undercooked while others are overbaked.
- Parchment Paper: Lining your baking sheet with parchment paper makes for easy cleanup and ensures that your cookies won’t stick to the pan, which can be frustrating when you’re trying to remove them.
Preparation Tips:
- Butter Softness: It’s crucial that the butter is softened to room temperature. Cold butter will not cream properly with the sugars, and this will result in a dense, hard dough that doesn’t spread properly during baking. Leave the butter out for about 30 minutes before you begin mixing.
- Don’t Overmix the Dough: When combining the dry ingredients with the wet ingredients, mix just until everything is incorporated. Overmixing can activate the gluten in the flour, which results in tougher cookies. To ensure your cookies remain soft and chewy, mix the dough only until the flour is fully combined.
- Chill the Dough (Optional): If you want your cookies to have a thicker, chewier texture, you can chill the dough for 30 minutes to 1 hour before baking. Chilling the dough helps prevent the cookies from spreading too much while baking, resulting in a thicker, softer texture.
Ingredients
To make these mouthwatering chocolate chip cookies, you’ll need the following ingredients:
- 2 ¼ cups (280g) all-purpose flour
- 1 teaspoon baking soda
- ½ teaspoon salt
- 1 cup (226g) unsalted butter, softened
- ¾ cup (150g) granulated sugar
- ¾ cup (160g) packed brown sugar
- 1 teaspoon vanilla extract
- 2 large eggs
- 2 cups (340g) semisweet chocolate chips
These ingredients work together to create a perfect balance of sweetness, richness, and soft texture. The all-purpose flour provides the structure, while the baking soda and salt enhance the flavor. The unsalted butter is the key to achieving that tender, melt-in-your-mouth cookie consistency, and the combination of granulated and brown sugar gives these cookies their perfect level of sweetness and a rich, caramel-like flavor.
Step-by-Step Directions
- Preheat the Oven: Preheat your oven to 375°F (190°C) and line a baking sheet with parchment paper.
- Mix Dry Ingredients: In a medium bowl, whisk together the flour, baking soda, and salt. Set this aside.
- Cream the Butter and Sugars: In a large bowl, use an electric mixer to beat together the butter, granulated sugar, and brown sugar until the mixture is creamy and smooth. This should take about 2 minutes on medium speed.
- Add the Eggs and Vanilla: Beat in the eggs, one at a time, making sure each is fully incorporated before adding the next. Then, mix in the vanilla extract.
- Combine Wet and Dry Ingredients: Gradually add the dry ingredients to the wet ingredients, mixing on low speed until just combined. Be careful not to overmix the dough.
- Fold in the Chocolate Chips: Gently fold in the semisweet chocolate chips using a spatula or wooden spoon. Be sure the chocolate is evenly distributed throughout the dough.
- Scoop the Dough: Using a cookie scoop or tablespoon, drop rounded tablespoons of dough onto the prepared baking sheet. Space the dough about 2 inches apart to allow for spreading.
- Bake the Cookies: Bake in the preheated oven for 9 to 11 minutes, or until the edges are golden brown, and the centers are set but still soft. For a chewier cookie, aim for the lower end of the baking time.
- Cool the Cookies: Allow the cookies to cool on the baking sheet for 2 minutes before transferring them to a wire rack to cool completely.
Serving Suggestions
Once you’ve baked the perfect batch of chocolate chip cookies, the fun doesn’t stop there. There are countless ways to serve and enjoy these delectable treats. Here are some classic and creative serving suggestions that will elevate your cookie experience:
- Classic Pairing with Milk: The timeless combination of warm chocolate chip cookies and a glass of cold milk is one that never fails. The creaminess of the milk complements the sweetness of the cookies, enhancing their flavor and giving you that nostalgic feeling of childhood comfort. For an added twist, try pairing with almond milk or oat milk if you’re looking for a dairy-free option.
- Serve with Ice Cream: For an extra indulgent dessert, make your own chocolate chip cookie ice cream sandwiches. Simply place a scoop of your favorite ice cream—vanilla, chocolate, or even caramel—between two warm cookies. The warm cookie will gently melt the ice cream, creating a deliciously messy treat that’s hard to resist.
- Pair with Hot or Iced Coffee: If you’re a coffee lover, you can’t go wrong with pairing these cookies with a hot cup of coffee or iced coffee. The slight bitterness of the coffee complements the sweetness of the cookies, creating a perfect balance of flavors. For an extra touch, sprinkle a bit of cinnamon on top of your coffee or add a swirl of whipped cream for a festive feel.
- Fruit Side: If you’re looking for something a bit lighter to balance out the richness of the cookies, serve them with a fresh fruit salad. The natural acidity and juiciness of fruits like strawberries, blueberries, or oranges help cut through the sweetness of the cookies, offering a refreshing contrast.
- Chocolate Fondue: Take your cookies to the next level by serving them with a chocolate fondue dip. Melt some dark or milk chocolate and dip your cookies into the chocolate for a rich, gooey experience that will leave everyone wanting more.
- As Part of a Dessert Spread: If you’re hosting a gathering or a party, these cookies make the perfect addition to a dessert table. Pair them with other simple baked goods like brownies, mini cheesecakes, or lemon bars. A combination of treats allows guests to sample different flavors and textures, and the chocolate chip cookies will always be a crowd favorite.
- With a Scoop of Sorbet: For a lighter, refreshing option, serve the cookies with a scoop of fruit sorbet like lemon or raspberry. The tartness of the sorbet balances the richness of the cookie, providing a delightful contrast of flavors.
- For Breakfast: While traditionally a dessert, chocolate chip cookies can be enjoyed as a breakfast treat too. Pair them with a cup of tea, yogurt, or a smoothie for a quick and satisfying morning snack. You might also add some peanut butter or jam to your cookies for a fun variation on the classic cookie breakfast.

Common Mistakes to Avoid & How to Perfect the Recipe
Even the most experienced bakers can make a few missteps when preparing chocolate chip cookies. To help you avoid common pitfalls and achieve perfect results, here are some mistakes to look out for and tips on how to correct them:
- Overmixing the Dough: One of the biggest mistakes when making cookies is overmixing the dough. When you add the dry ingredients to the wet ingredients, mix only until they are combined. Overmixing activates the gluten in the flour, which can result in a tough, dense cookie. For a softer, chewier texture, make sure to mix just enough to incorporate the ingredients.
- Incorrect Butter Temperature: Using butter that’s too cold or too melted can affect the final texture of your cookies. The butter should be softened to room temperature—soft enough to make an indent when pressed but not so melted that it turns liquid. Cold butter won’t cream properly with the sugars, and melted butter may result in a flatter cookie.
- Baking Time Issues: The baking time for these cookies is crucial. If you leave them in the oven too long, they will become too crunchy and dry. On the other hand, underbaking them may leave the cookies too raw in the center. Keep a close eye on the cookies while they bake. The edges should be golden brown, but the center should still look slightly soft. If you’re aiming for chewy cookies, bake them on the lower end of the recommended time, around 9 minutes.
- Incorrect Oven Temperature: Oven temperatures can vary, so it’s always a good idea to use an oven thermometer to ensure your oven is at the correct temperature. Baking at a temperature that’s too high can cause the cookies to burn on the edges while leaving them undercooked in the middle. A steady temperature of 375°F (190°C) ensures even cooking.
- Not Using Parchment Paper: If you skip the parchment paper or a baking mat, your cookies may stick to the baking sheet, making it difficult to remove them without breaking. Parchment paper also helps the cookies bake evenly and prevents the bottoms from becoming too dark.
- Incorrect Cookie Scoop Size: The size of your cookies matters when it comes to baking. Using too much dough per cookie can result in thick cookies that need extra time to bake, while too little dough can yield thin, crispy cookies. Aim to use about 1 to 1.5 tablespoons of dough per cookie to get the right balance between thickness and texture.
Side Dish Recommendations (8 Side Dish Ideas)
If you want to serve these cookies as part of a larger meal or dessert spread, consider the following side dishes that complement the rich, sweet flavors of chocolate chip cookies:
- Vanilla Ice Cream – A classic pairing with chocolate chip cookies.
- Caramel Sauce – Drizzle over cookies or serve as a dipping sauce.
- Fruit Salad – A refreshing contrast to the richness of the cookies.
- Whipped Cream – Adds lightness and creaminess to balance the cookie’s texture.
- Milkshakes – Blend with chocolate or vanilla ice cream for a rich treat.
- Peanut Butter – A great pairing for anyone who loves chocolate and peanut butter together.
- Hot Cocoa – Especially great for winter months when you want an indulgent dessert.
- Fresh Strawberries – Sweet strawberries balance the cookie’s richness, adding a refreshing touch.

Recipe Tips
To ensure your chocolate chip cookies come out perfectly every time, here are some additional tips that will elevate your baking experience:
- Use Room Temperature Ingredients: This may seem like a small detail, but it can make a big difference in your cookies’ texture. Ensure that both the butter and eggs are at room temperature before you begin mixing. Cold butter won’t cream as smoothly with the sugars, leading to a denser dough. Likewise, using cold eggs can result in uneven mixing, affecting the overall texture of the cookies. By letting them come to room temperature, your dough will be smoother, leading to a more uniform bake.
- Chill the Dough for Thicker Cookies: If you prefer thicker, chewier cookies, chilling the dough before baking is a key step. After mixing the dough, cover it with plastic wrap and refrigerate it for at least 30 minutes, or even up to 24 hours. Chilling the dough prevents the cookies from spreading too much during baking, allowing them to maintain a thicker, more substantial texture. The longer you chill the dough, the more flavor develops, making it worth the wait.
- Measure Flour Accurately: Measuring your flour correctly is essential for achieving the right cookie texture. If you pack your flour into the measuring cup, you may end up using more than needed, which can lead to dry, crumbly cookies. For the most accurate measurement, spoon the flour into the measuring cup and level it off with the back of a knife. This ensures that you’re using the correct amount of flour for the perfect consistency.
- Don’t Overbake: One of the most common mistakes when baking cookies is overbaking them. Cookies will continue to cook on the baking sheet after being removed from the oven, so it’s important to take them out just before they reach the desired doneness. For soft, chewy cookies, remove them when the edges are golden brown, but the centers are still soft. The cookies will firm up as they cool, ensuring the perfect texture.
- Quality of Chocolate Chips: The chocolate chips you choose can make a big difference in the final result. Opt for high-quality semisweet chocolate chips for the best melt and flavor. If you want to take it a step further, you can also use chopped chocolate bars for larger, irregular chunks of chocolate, which can give your cookies an even richer flavor. Additionally, if you prefer a slightly different chocolate experience, you can experiment with using milk or dark chocolate.
- Experiment with Add-Ins: While classic chocolate chip cookies are delicious as is, you can always experiment by adding your favorite mix-ins. Consider incorporating chopped nuts (such as walnuts or pecans) for added texture and flavor, or try adding a handful of toffee bits or M&Ms for a fun twist. Just be sure not to overstuff the dough, as this can affect the cookies’ texture and baking time.
Storage and Reheating Instructions
Proper storage will help you enjoy your chocolate chip cookies long after they’ve been baked, ensuring they stay fresh and delicious.
- Storage: After your cookies have cooled completely, store them in an airtight container at room temperature. They will stay fresh for about 5 to 7 days, though the cookies are usually eaten long before then! If you want to prevent the cookies from getting too soft, you can place a slice of bread inside the container. The bread will help absorb any excess moisture, keeping your cookies fresher for longer.
- Freezing: You can freeze both the dough and the baked cookies for longer storage. If you have extra dough, simply scoop the dough into individual cookie portions, place them on a baking sheet, and freeze them. Once frozen solid, transfer the dough balls to a zip-top freezer bag or airtight container. They can be stored for up to 3 months. To bake, simply place the frozen dough balls on a baking sheet and bake at 375°F (190°C) for 1-2 extra minutes than the original baking time.To freeze already-baked cookies, allow them to cool completely, then layer the cookies between pieces of parchment paper in an airtight container or freezer bag. When you’re ready to eat them, let them thaw at room temperature or pop them in the microwave for a few seconds to warm them up.
- Reheating: To reheat cookies, place them in the microwave for about 10-15 seconds, or heat them in a preheated oven at 300°F (150°C) for 5 to 7 minutes. This will restore some of their original softness and make them taste freshly baked again. If you’ve frozen the cookies, you can follow the same reheating instructions after thawing them.

Frequently Asked Questions (FAQs)
- Can I make these cookies gluten-free?
- Yes, you can substitute the all-purpose flour with a 1:1 gluten-free flour blend. Be sure to check the blend’s packaging for any additional instructions, as some blends require adjustments to the recipe, such as adding xanthan gum.
- What if I don’t have baking soda?
- You can substitute baking soda with baking powder, though the result may be slightly different. Use about 1 ½ teaspoons of baking powder for every 1 teaspoon of baking soda. Keep in mind that baking soda helps the cookies spread more, while baking powder may create a slightly puffier cookie.
- Can I use margarine instead of butter?
- While margarine can be used as a substitute for butter, it may change the flavor and texture slightly. Butter provides a richer flavor and better texture, so it’s recommended for the best results. If you need to use margarine, choose one with a high fat content.
- Can I add other mix-ins like raisins or coconut?
- Absolutely! This recipe is versatile, and you can add a variety of mix-ins to suit your taste. Try adding raisins, shredded coconut, white chocolate chips, or even a bit of cinnamon for a unique twist. Just be mindful not to overload the dough, as too many add-ins can affect the texture.
- Why are my cookies spreading too much?
- If your cookies spread too much during baking, it could be due to warm dough or the dough being too soft. Chilling the dough before baking can prevent excessive spreading. You might also want to check the temperature of your oven to ensure it’s at the correct setting.
Conclusion
Making the perfect chocolate chip cookie doesn’t have to be difficult. With a few simple tips and techniques, you can create cookies that are soft, chewy, and bursting with flavor. From measuring ingredients carefully to experimenting with mix-ins, these cookies can be customized to fit your personal preferences. Whether you’re enjoying them fresh out of the oven or saving them for later, they are sure to satisfy your cravings and become a favorite in your baking collection. By following the tips on storage, reheating, and troubleshooting, you’ll be able to enjoy these cookies long after they’ve been baked, ensuring that your chocolate chip cookies stay fresh and delicious for days to come.

Chocolate Chip Cookies
Ingredients
- 2 ¼ cups 280g all-purpose flour
- 1 teaspoon baking soda
- ½ teaspoon salt
- 1 cup 226g unsalted butter, softened
- ¾ cup 150g granulated sugar
- ¾ cup 160g packed brown sugar
- 1 teaspoon vanilla extract
- 2 large eggs
- 2 cups 340g semisweet chocolate chips
Instructions
- In a medium bowl, whisk together the flour, baking soda, and salt. Set aside.
- In a large bowl, beat the softened butter, granulated sugar, and brown sugar until creamy and smooth, about 2 minutes using a hand mixer or stand mixer.
- Beat in the eggs one at a time, ensuring each is fully incorporated before adding the next. Mix in the vanilla extract.
- Gradually add the flour mixture to the wet ingredients, mixing on low speed until combined. Be careful not to overmix.
- Using a spatula, gently fold in the chocolate chips until evenly distributed throughout the dough.
- Using a tablespoon or cookie scoop, drop rounded tablespoons of dough onto the prepared baking sheet, spacing them about 2 inches apart.
- Bake in the preheated oven for 9 to 11 minutes, or until the edges are golden brown and the centers are set but still soft. For a chewier cookie, bake on the lower end of the time range.
- Allow the cookies to cool on the baking sheet for 2 minutes before transferring them to a wire rack to cool completely.


Leave a Comment